Input Flow enables users to automate the storage of multiple templates that may be defining a budget process. For example, if you have a driver template that defines percent increases in capital expenses, personnel etc across your organization, you can execute the driver template and then the subsequent capital and personnel templates to drive the start of your next budget season.
Requirements
Input Flow has the following requirements and restrictions
- Report Designer license
- Only 25 iterations (explained below) can be generated per budget flow.
- Report designer users can see all configured input flows, but may only edit the input flow they have created.
Configure an Input Flow
To configure an input flow, as a report designer user
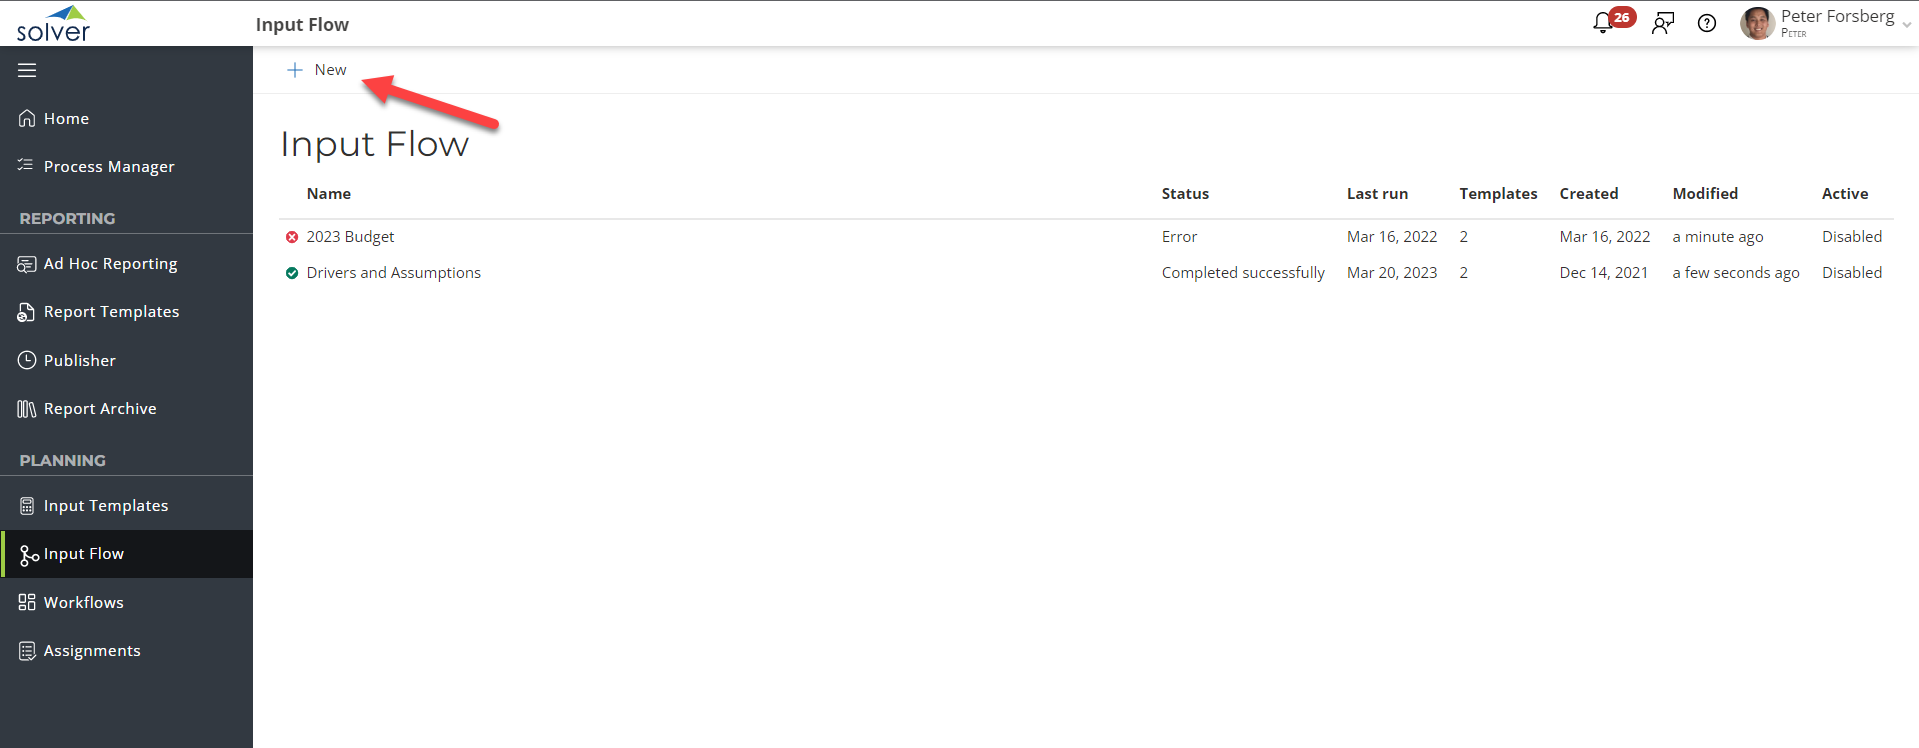
- Navigate to Input Flow on the left hand menu, a listing of all Created Input Flows will appear.
- Click New in the upper left hand corner to begin the process to create an Input Flow.
- The Input Flow wizard loads. Complete each section

- Name: A mandatory, descriptive name for the Input Flow about to be created
- Integration: a dropdown single-select for you to choose the integration package associated to the reports to be run.
- Only start new flow execution if data is stored in the first template: enable this option to opt to cancel/end the input flow if the first template fails to store. This can be useful in driver-based input flows where the first template provides critical numbers for the next templates.
- Templates: a dropdown multi-select of the published input templates to be ran
- Parameters: a listing of all parameters that exist amongst all reports added.
- Parameters will only appear once as long as they are identical in parameter properties. IF, for example, template 1 has Entity as a parameter that is set to single select and template 2 has Entity set as a parameter with mult-select, these two templates have different properties for the Entity parameter, and therefore the Entity parameter will exist twice. You can hover over each parameter to see which template a “duplicate” is associated to.
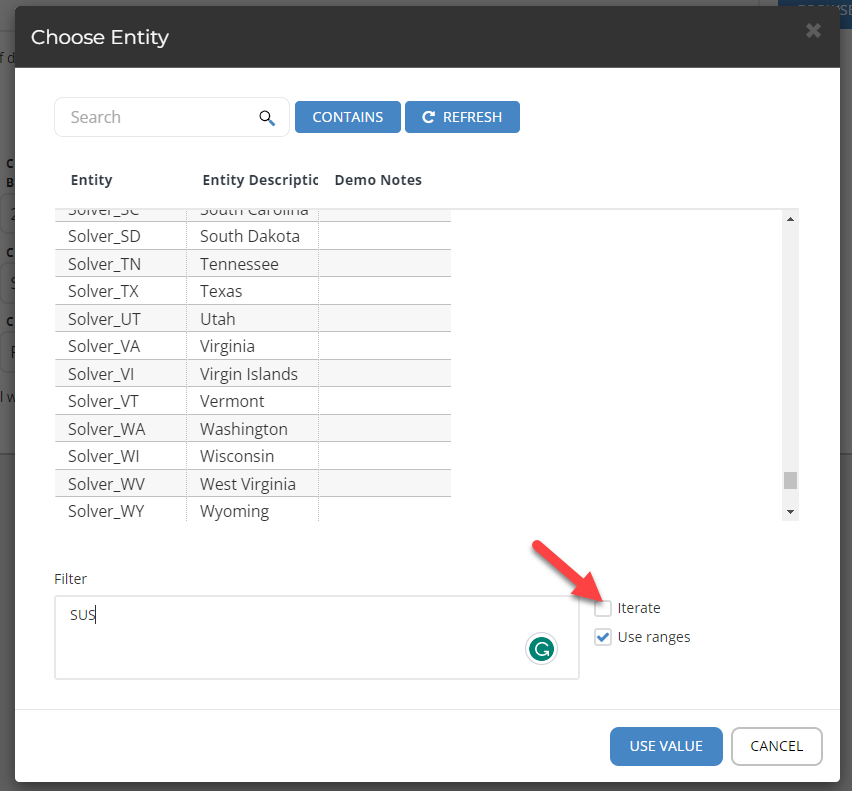
- Iterate: the iterate option tells the application to run the input flow for a single value, even though you have selected many. This can be useful in cases where you want an input form to be ran individually for Dept 100, 200, 300 but in the parameter window you select 100:300 and do not want the template ran for all 3 at once.
- Input Flow grid: A grey grid that allows users to connect the report tiles via lines to define the order of operations.
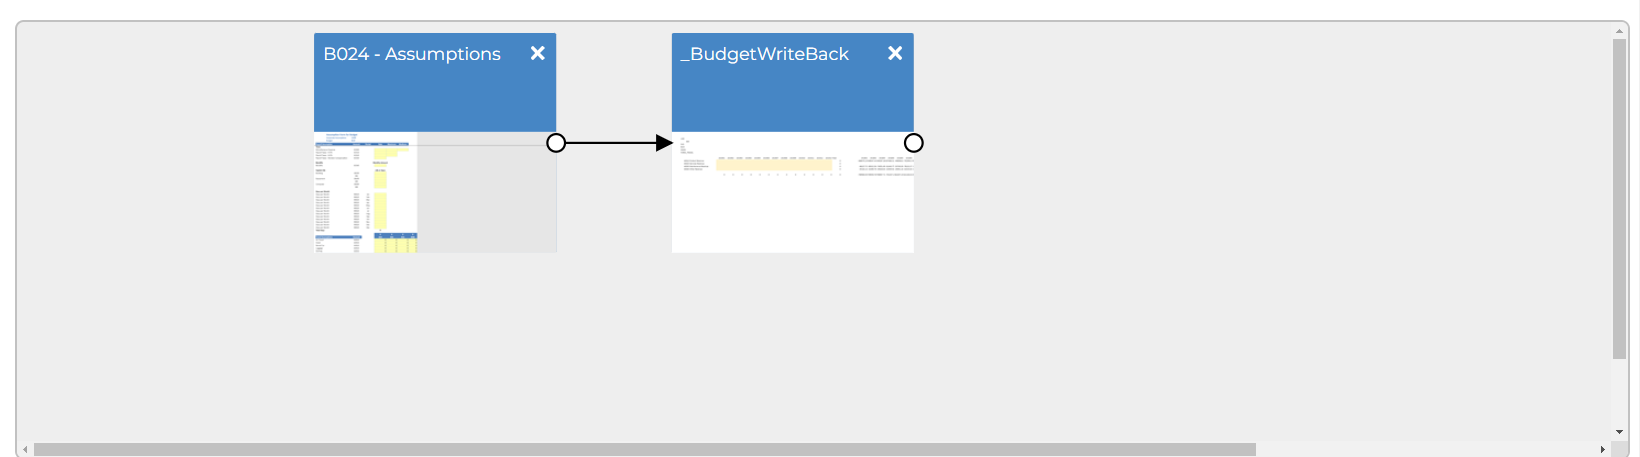
- Click on the circles around each template to define the order of operations.
- To remove an action, simply drag the arrow away from a tile
- You do not need to make a complete circle (last tile has an arrow coming back to the first tile.
- Once completed, click Save to save the configuration and be returned to the Input Flow landing page. As a reminder, only 25 parameter combinations are allowed at this time.
Executing an Input Flow
Input flows can be executed in two manners.
- Manually
- When a save data action is performed from the first template defined in the input flow.
To execute an input flow manually, from the Input Flow menu, simply select the input flow and click Run.![]()
To have an input flow run whenever a user clicks save data from within the budget template, click Enable. The Active column on the Input Flow menu indicates whether this setting is currently enabled or disabled. 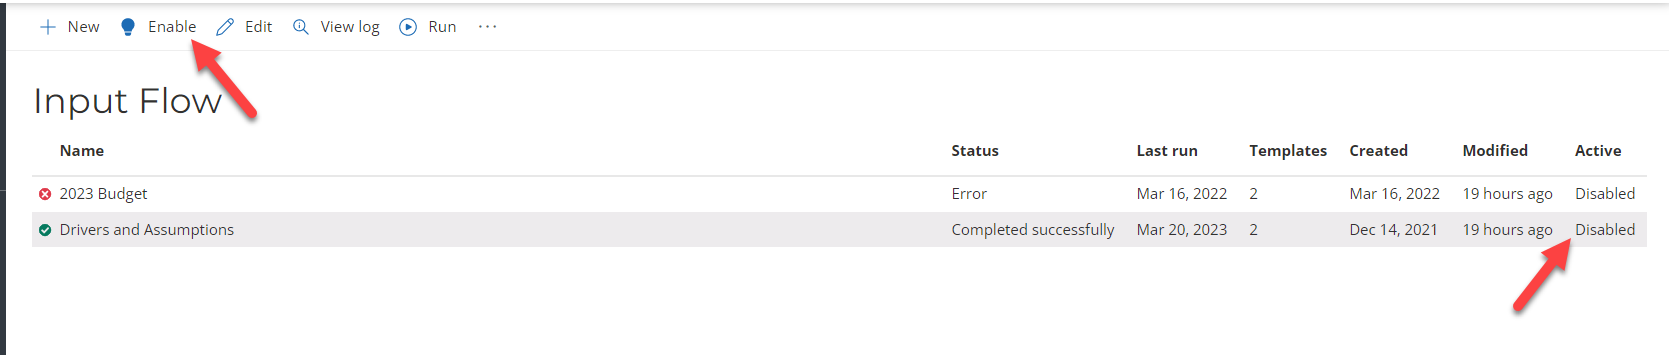
Execution Details
To view the details of an Input Flow, click View details. This menu will also provide information, should your Input Flow error out. The last 10 input flow executions are displayed on this screen. 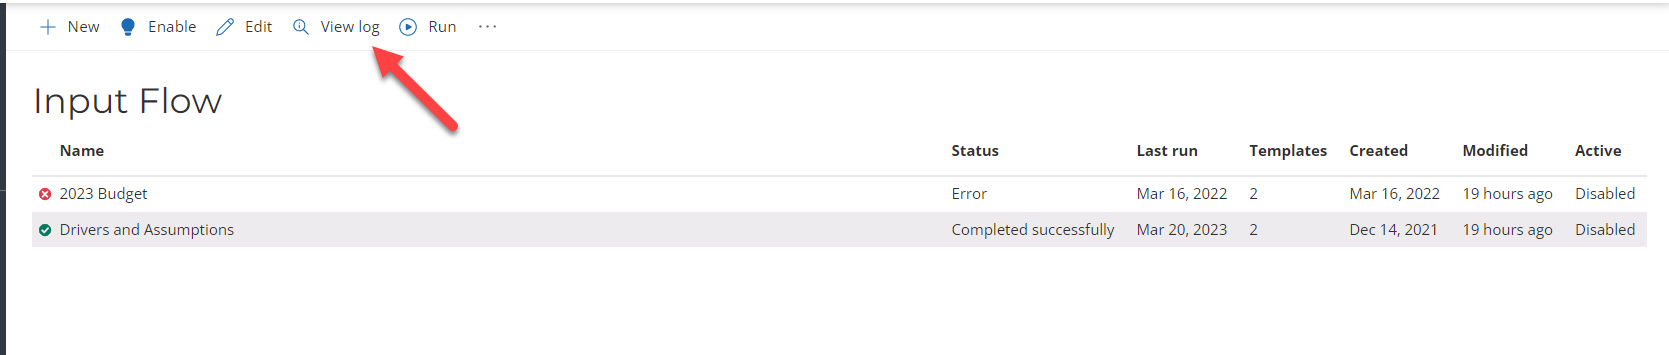
Delete and Force Cancelling an Input Flow
The ellipsis gives users two options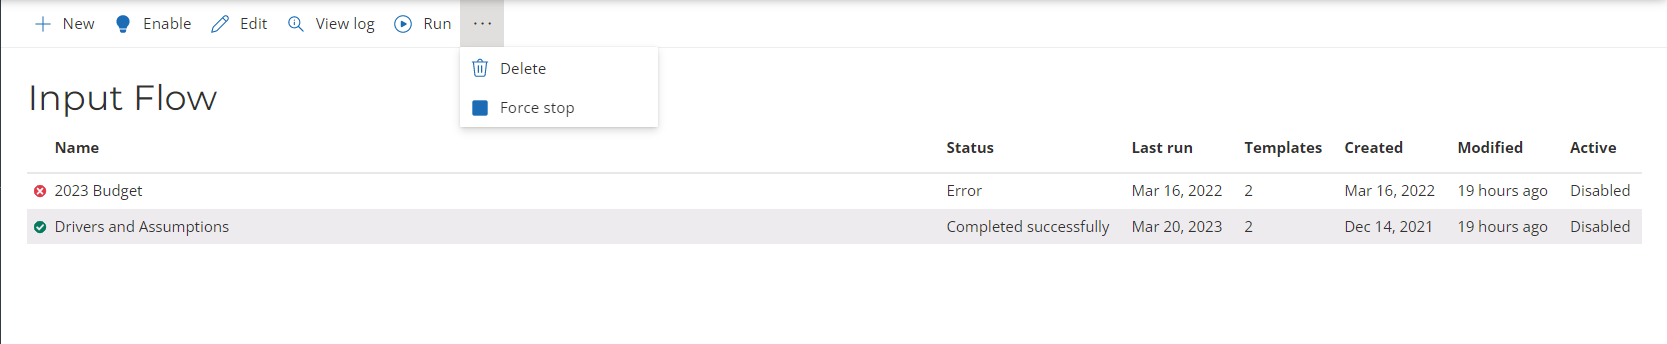
- Delete: Delete the Input Flow. This action cannot be undone.
- Force Cancel: Should your Input Flow continue to run or you’d like to cancel it for whatever reason, choose Force Cancel.