This article details how to protect/lock cells in Solver. These steps apply to reports ran in both the Excel and the web interface.
- Note: Solver cannot assist you in recovering your Excel password.
To lock a cell and prevent editting, in Excel you simply define whether a cell should be locked or not. To do this:
- Choose a cell (or range of cells) > right click > Format Cells
- On the Protection tab, define whether a cell is locked or unlocked (unchecked) and click Ok.
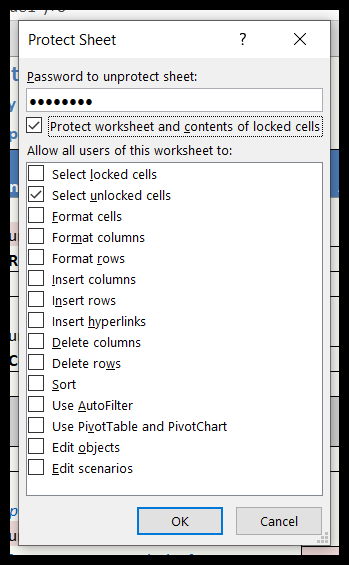
- Back in Excel, click Review > Protect Sheet
- Protect Workbook is not supported.
- In the popup that appears, choose how you want to interact with Locked and Unlocked cells and type in a password. Confirm the password in the additional prompt that appears and click Ok.
- Back in Excel, navigate to the Report Designer ribbon and choose Report Properties.
- On the Protection tab, type in the password you typed in when protecting the sheet and click Ok.
At this point you have not password protected the report and provided Solver with the password. Run the report in Excel to ensure that your cells are locked and do the same in the web to ensure the same experience.
- At this time, in the web there is no notification that the user is typing into a locked cell.
If you have any questions or issues with this feature, please contact Solver Support.