This article will go over the workflow of the Category Mapping page and describe the features of this page. This update affects all ERPs and all Quick Start users.
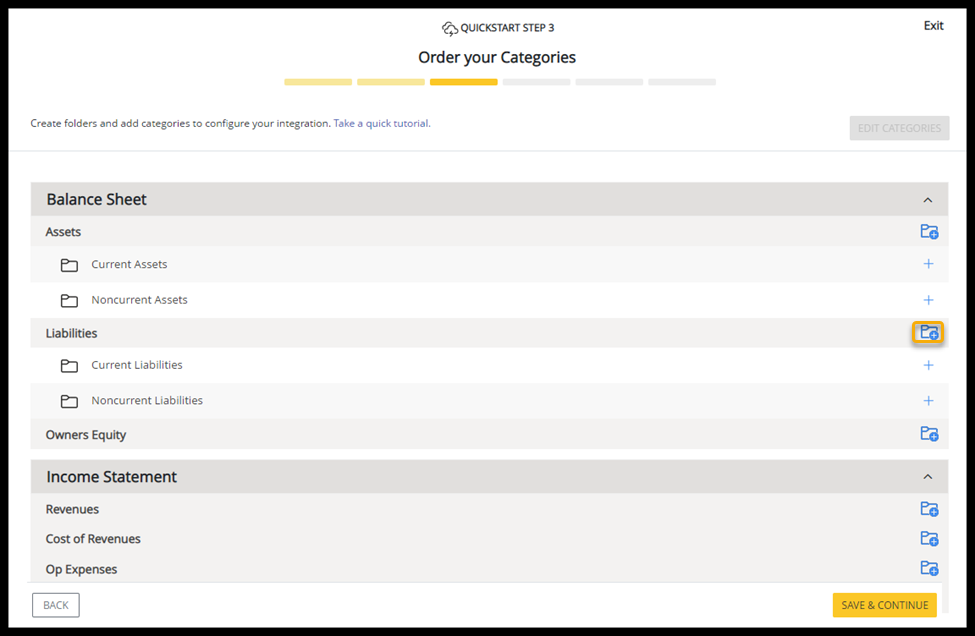
Following the completion of the second step of the Quick Start Wizard, selecting data to bring to Solver through the integration, users will be directed to edit their category descriptions and order their categories. Once they have acknowledged that this is the next step, they will be shown the Category Mapping page where they will be able to create folders and add categories to configure the integration.
How To Use The Mapping Page
From the mapping page, scroll through the categories within each menu and select the folder icon with a plus to add folders for the major components that you would like to use in your financial reports and budgeting templates. This will allow the data to be organized quicker following the completion of the integration.
Once you have finished creating folders, now order the categories you would like to include in your reports and templates. To select a category to add, click on the plus button next to current folders to open up a pop-up menu that allows you to select and order the categories for the selected folder.
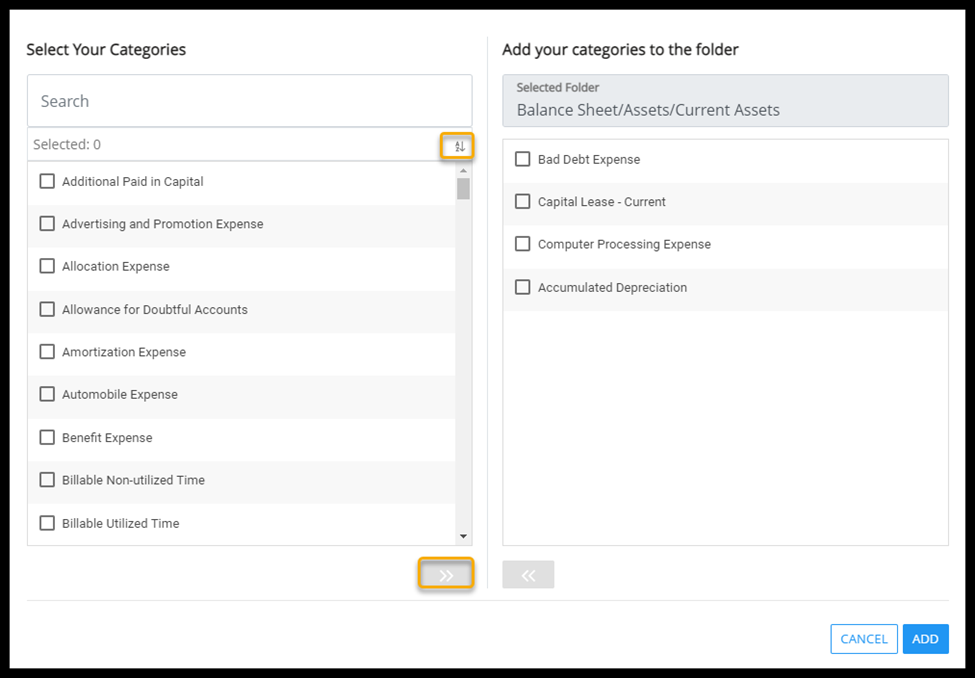
Once you have selected one or more categories on the left list of the menu, a button will appear underneath this list, and clicking it will move the categories to the right side of this pop-up. You may also search for a category and sort the list of categories by pressing the AZ button in the top right corner of the left menu. Once finished, press the add button to confirm
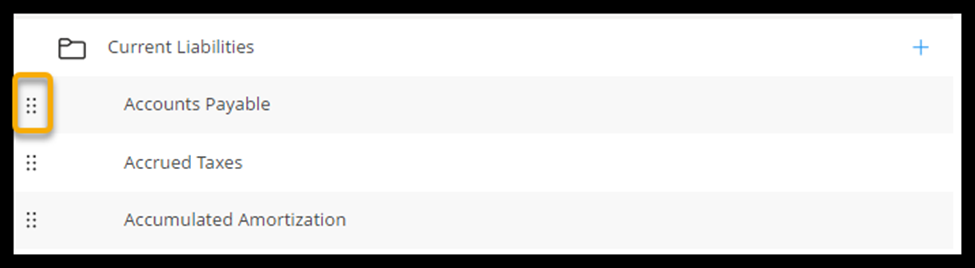
After finishing the selection of categories, you may reorganize them by dragging each line item under the folders by the vertical ellipses on the left side of each and placing it above or underneath the other categories in the preferred order.
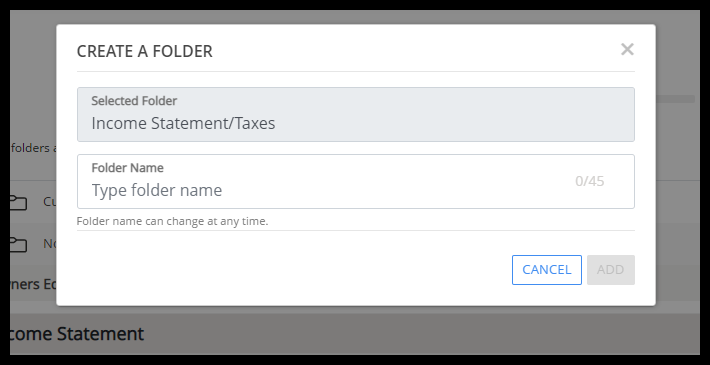
You will also be able to edit the names of folders with naming conventions up to 45 characters by selecting the blue edit categories button in the upper right-hand corner of the page. Once the button has been pressed, you may delete the categories you have selected by pressing the X button on the right side of the line items.