This article will detail the steps to set up and configure QuickStart for Dynamics 365 Sales, Field Service, and Customer Service, also known as CRM or Microsoft D365 CRM. QuickStart is a wizard-driven process made to assist you in quickly setting up an integration from your organization’s D365 CRM implementation to Solver Cloud.
Before beginning a QuickStart integration with Microsoft D365 CRM, there are a few items to be aware of:
- Solver’s QuickStart for Microsoft D365 CRM brings in the Opportunity header only at this time.
- Solver’s D365 CRM Connector utilizes OAuth authentication between Solver and your D365 CRM implementation. When configuring the initial connection, it will be required that a user has several Read permissions enabled within their D365 CRM settings. This must be done by a user with Administrative security permissions. To change your role or access these permissions, please contact your Microsoft D365 Administrator.
- In D365 CRM configurations, all accounts must be assigned to a role initially. Please check permissions before beginning the QuickStart process to confirm whether or not any changes are necessary.
- Users must have access to their Dynamics 365 Sales and Service URL before beginning this process. If you do not know this URL, please contact your Microsoft D365 Administrator.
- Popup blockers should be disabled to allow for the D365 CRM authentication screen to appear in the QuickStart wizard.
For the latest information on data sources available through the QuickStart process for D365 CRM and the other supported ERPs, please reference this article on QuickStart features.
QuickStart for D365 CRM brings in the following CRM information:
- Deals header info
- Customers
- Contacts
- SalesPerson
Pre-Configuration and Authorizing Solver
This section can be skipped if you are using an existing account that has already set up permissions. These instructions are for those creating a new account and assigning it to a role. It is best practice to check your account permissions before launching QuickStart.
If you have administrative access to edit permissions in D365,
- Sign in to your D365 account.
- Click the Settings icon from the toolbar.
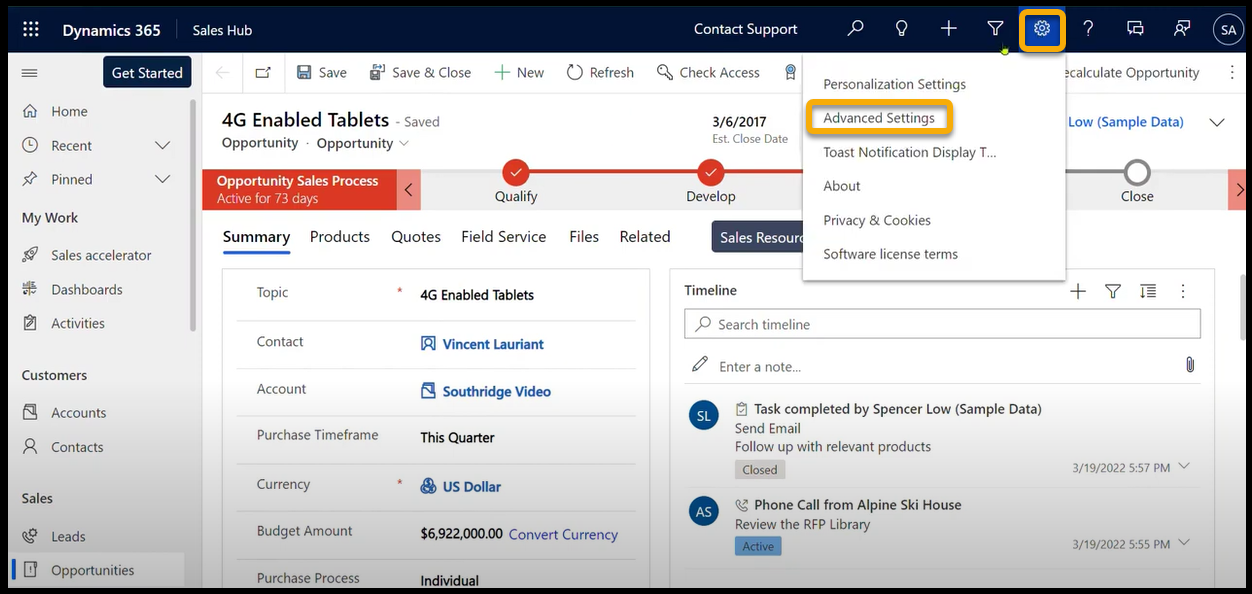
- Select Advanced Settings from the settings dropdown menu.
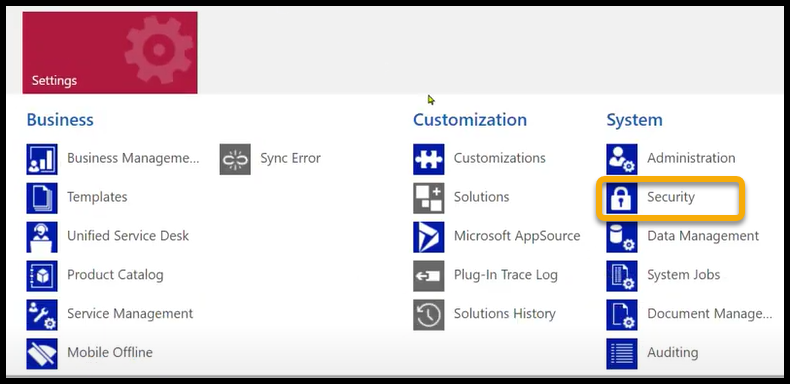
- Under the System menu, click Security.
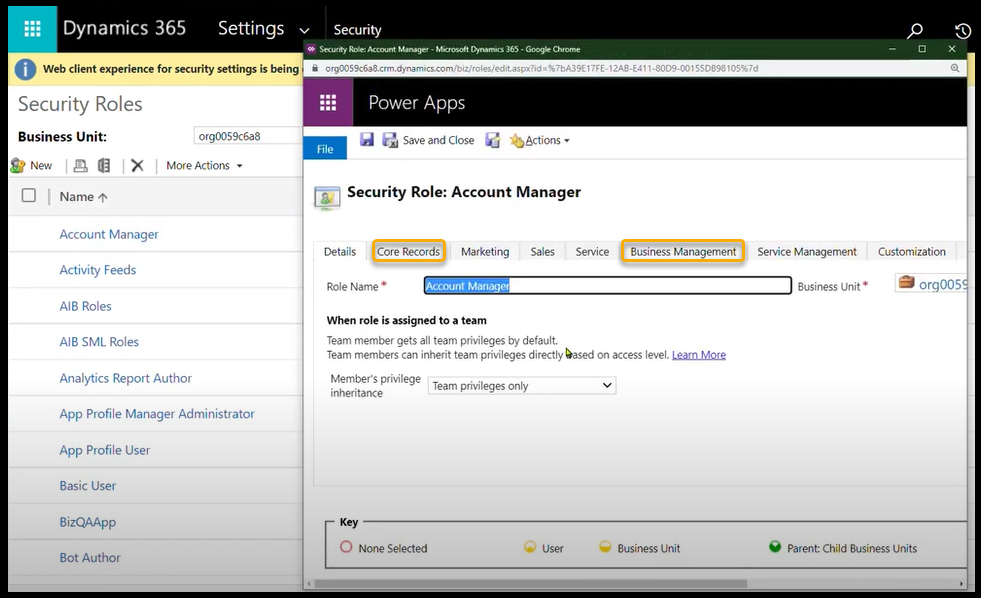
- From the Security Role list, select the pre-determined role name (ex: Solver API) to edit the permissions. This can be an existing or new role.
- Change the permissions to Read by clicking the circle under the relevant row.
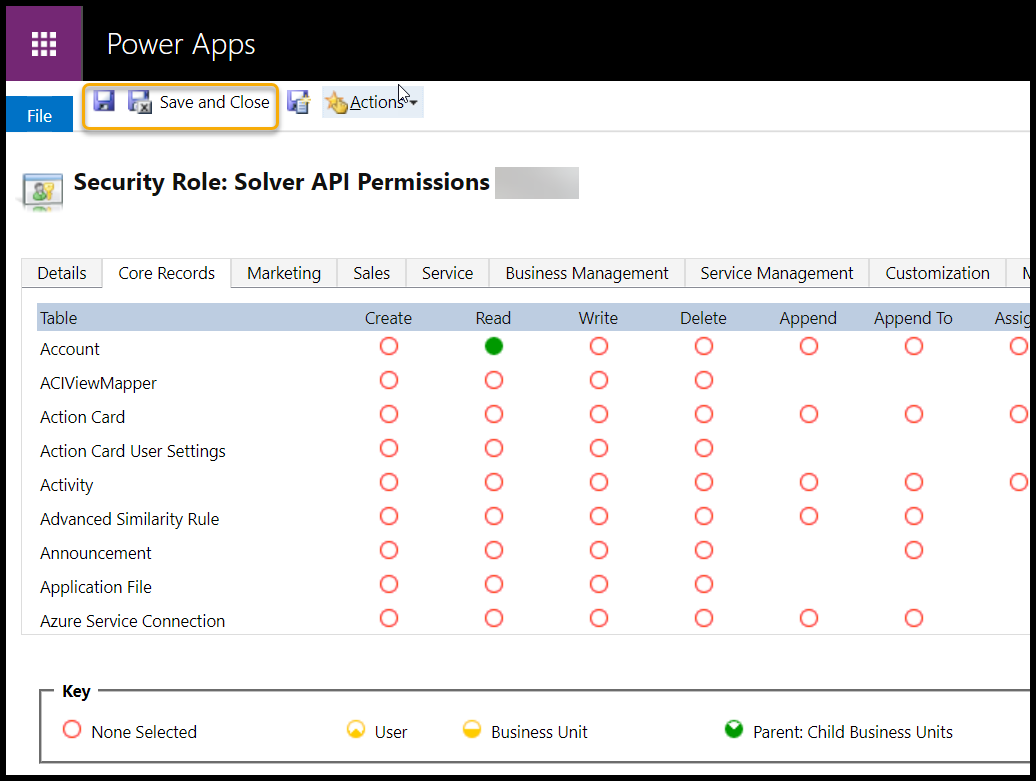
- Press Save and Close to confirm the permissions that have been changed. Once these settings have been saved, security settings will be immediately inherited and users will be able to begin their QuickStart integration.
The required permissions include:
- Under Core Records:
- Contacts
- Accounts
- Opportunity
- Under Business Management:
- Users
These permissions are for QuickStart integrations only. Loading other data may require additional permissions when creating a manual integration using the D365 Sales and Service connector.
QuickStart Setup Guide
To create a QuickStart integration:
- Navigate to the Data Warehouse > Data > Integrations.
- Select the Add New button from the upper right-hand corner of this screen to open the connector marketplace.
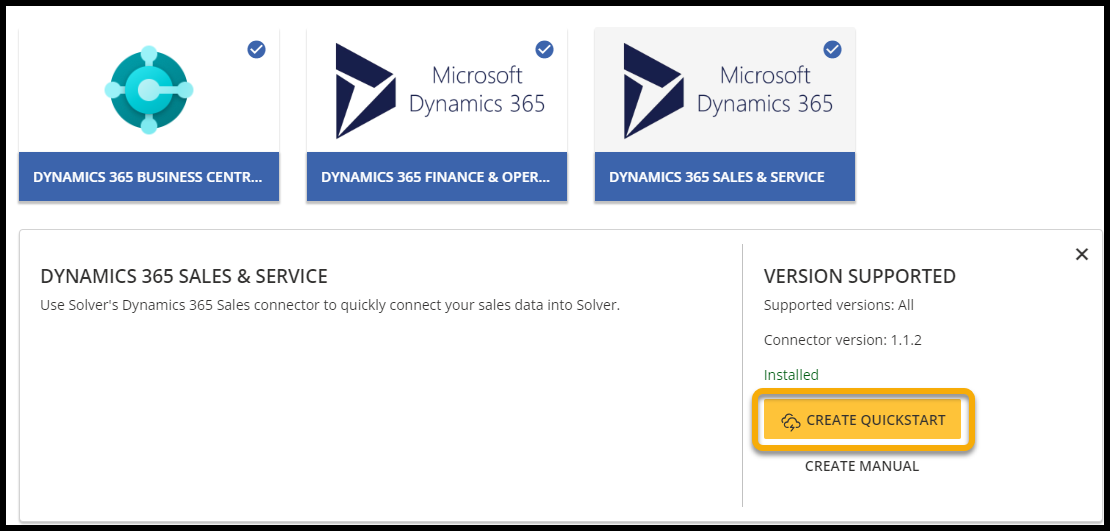
- Select Dynamics 365 Sales and Service.
- Click the Create QuickStart button.
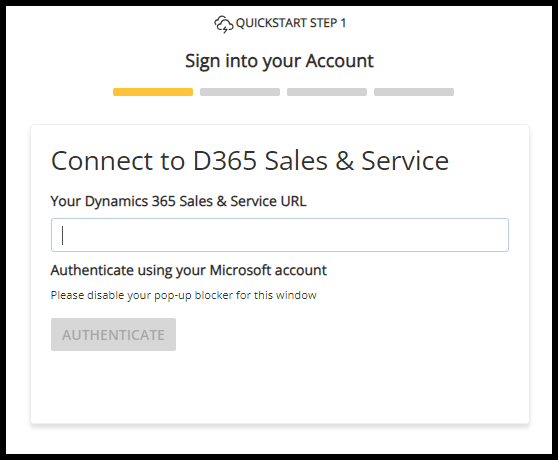
- Input your Dynamics 365 Sales and Service URL into the text box (ex: https://<yourD365URL>.com/). Once the URL has been verified, click the Authenticate button when it turns blue.
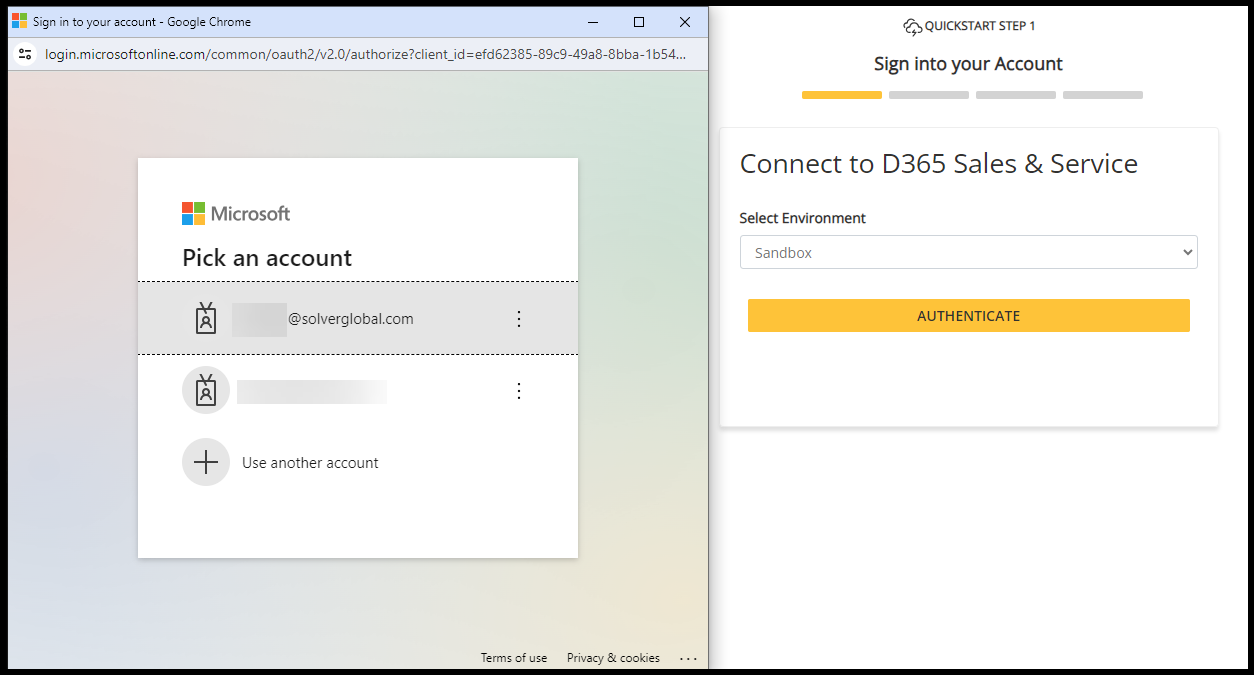
- Select an Environment from the dropdown menu in the wizard and press Authenticate to begin logging into your Microsoft CRM account.
- Ensure that your pop-up blockers have been disabled.

- Ensure that your pop-up blockers have been disabled.
- Once the pop-up appears, choose an account and enter your password to continue with the authentication process.
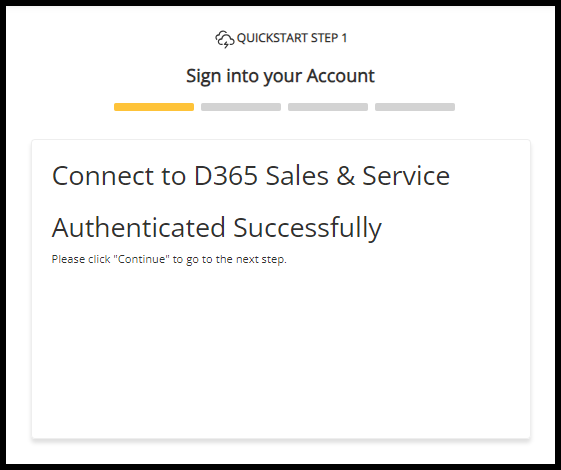
- Once you have successfully logged in to your Microsoft account, you will be returned to the wizard to confirm the authentication process has been completed.
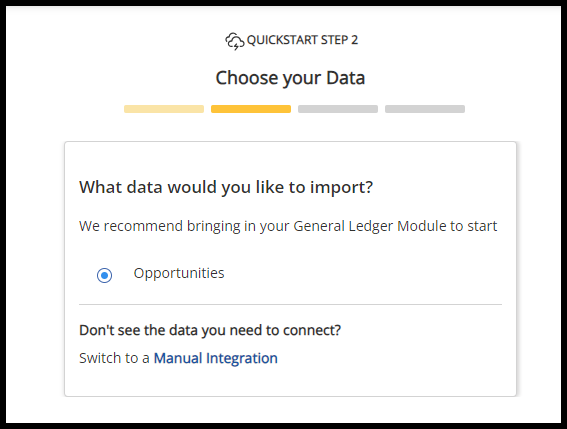
- Next, select the data you would like to import.
- At this time, only the Opportunities data is available for QuickStart.
- At this time, only the Opportunities data is available for QuickStart.
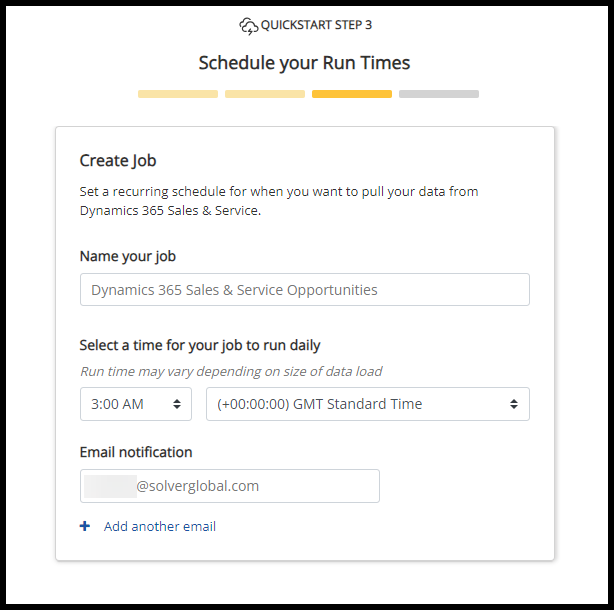
- Schedule a job to run your integration.
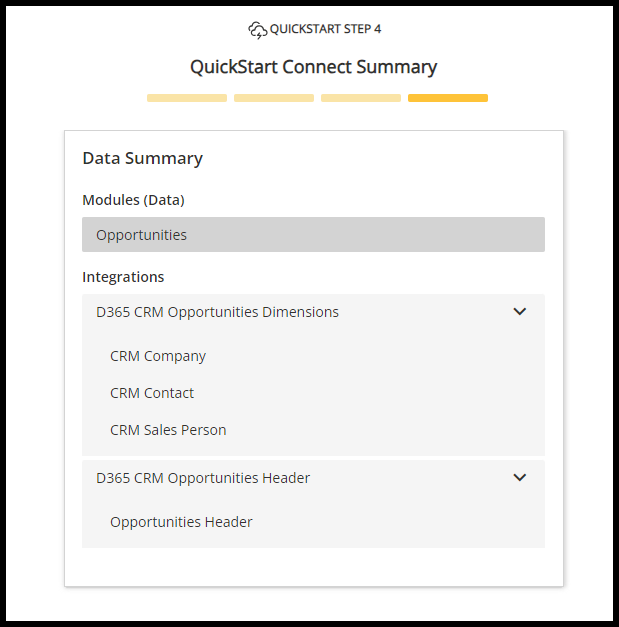
- Review the selected data and click Run Now to run your integration.
- Visit the Job page to confirm or make any changes to your scheduled Job.
Following a completed job, you can find many flexible templates for your CRM data in the Template Marketplace.