This article will detail the steps to set up and configure QuickStart (QS) for Salesforce. QuickStart is a wizard-driven process made to assist you in quickly setting up an integration from your organization’s Salesforce implementation to Solver Cloud.
Before beginning a QuickStart integration with Salesforce, there are a few items to be aware of:
- Solver’s Connector utilizes OAuth authentication between Solver and your Salesforce implementation.
- Ensure popup blockers allow for the Salesforce authentication screen to appear
- Solver’s QS for Salesforce brings in Opportunity only at this time. Other data in Salesforce is only available via manual integration.
- Users must have the Salesforce API enabled to create a QuickStart using the connector. This can be enabled by an administrator and once enabled, users will not require admin permissions when creating a QuickStart and going through the authentication process.
- Unfortunately, there is no API for currency in Salesforce. Therefore, the currency associated with a deal is currently not brought into Solver.
For the latest information on data sources available through the QuickStart process for Salesforce and the other supported ERPs, please reference this article on QuickStart features.
QuickStart for Salesforce brings in the following Salesforce information
- Company
- Salesperson
- Opporunities
- Accounts
Pre-Configuration
Authorizing Solver
The only set-up requirement for Solver users to be able to create a QuickStart using the connector is to have their Salesforce account administrator grant them access to the Salesforce API.
Instructions on how this can be done can be found here.
QuickStart Setup Guide
To create a QuickStart integration:
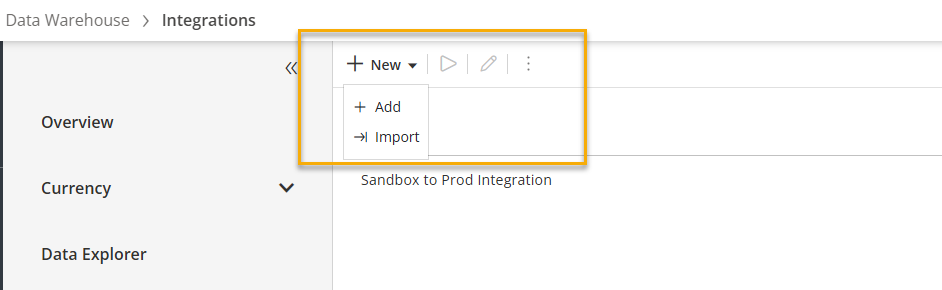
- Navigate to the Data Warehouse > Data > Integrations
- Click New > Add from the action bar to access Solver’s Connector Marketplace.
- Select Salesforce.
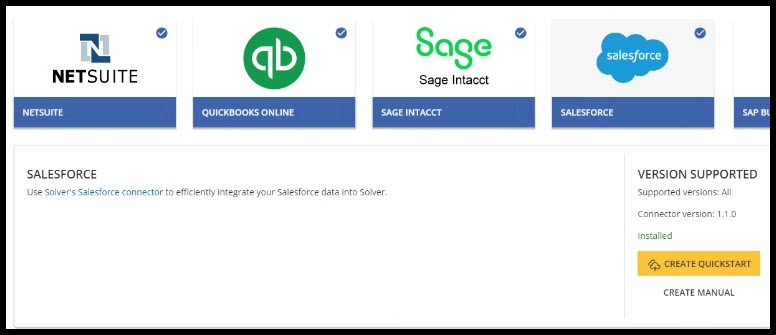
- Click the Create QuickStart button.
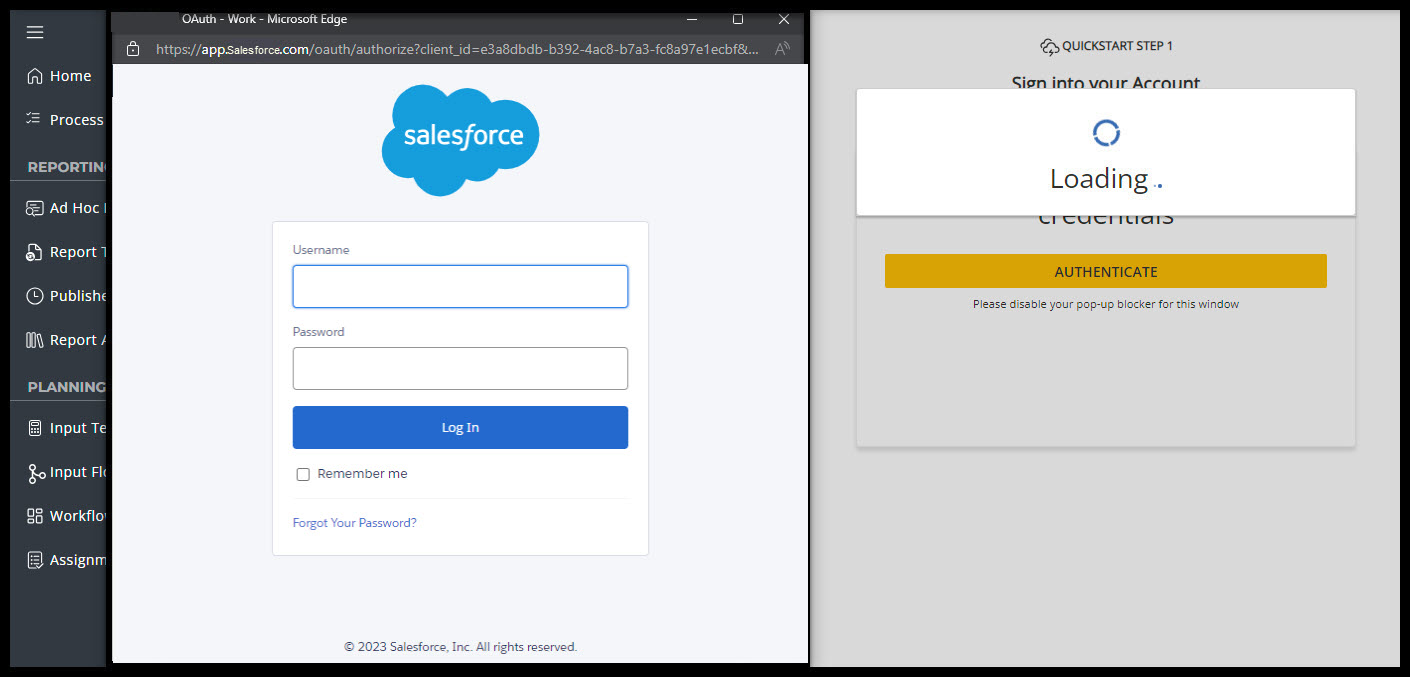
- Press Select Environment in the wizard to begin logging into Salesforce and ensure that your pop-up blockers have been disabled.

- From the dropdown menu, select an environment and hit Authenticate. Once the pop-up window appears, log in to Salesforce and select the account you would like to connect to Solver. Then press Next.
- You will then see a page that breaks down the permissions required for using Salesforce with Solver and the information you are granting access to Solver to read. Review this page and then press allow at the bottom of the page.

- Once you have returned to the Solver application, continue on to the next step in the QuickStart process.
- Next, select the data you would like to import. At this time, only the Opportunities data is available for QS.

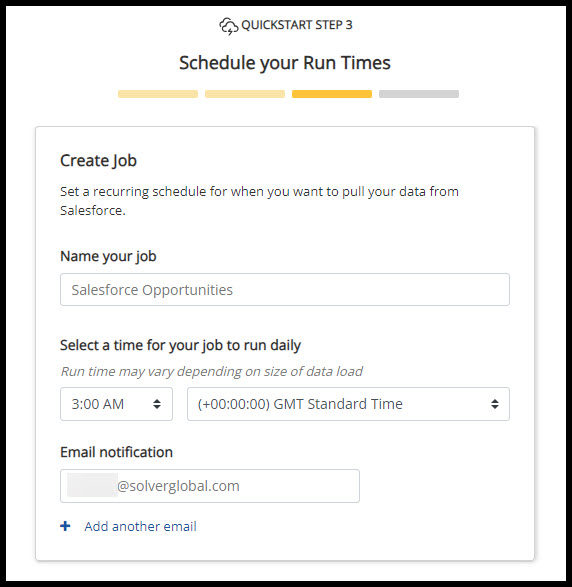
- Schedule a job to run your integration.
- Review the selected data and click Run Now to run your integration.

- Visit the Job page to confirm or make any changes to your scheduled Job.