The Solver to Solver connector allows you to create integrations between your two tenants, keeping their data in sync. When using Solver’s Jobs feature and Delta Load, users can schedule data syncs at an interval of their choice.
This connector utilizes the underlying Data API to create an integration between your two tenants.
Pre-Requirements
The following is required to use the Solver to Solver connector
- Enabling the Data API
- A valid access token
- When creating an integration, the source objects shown are based on the permissions of the token provided during login. If you do not see a module as a source object when using the Solver to Solver connector, it may be a result of the token not having sufficient permissions.
Using the Solver to Solver Connector
Once you have enabled the Data API, the following steps will guide you through creating an integration using the Solver to Solver connector.
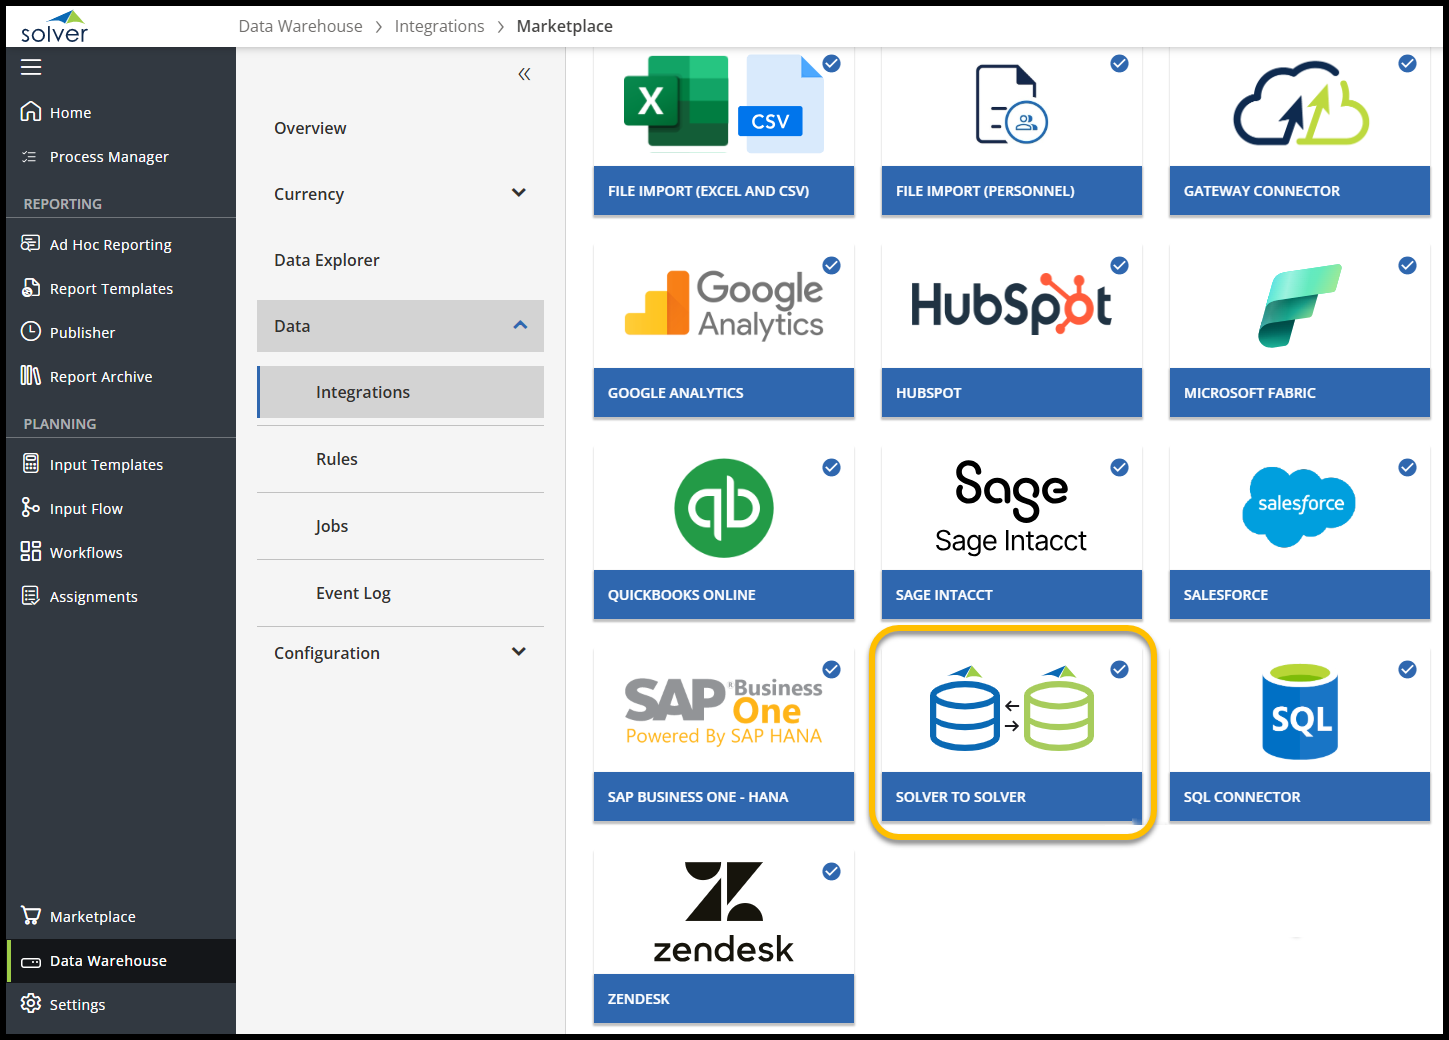
- Navigate to Data Warehouse > Data > Integrations > Add New
- Choose the Solver to Solver Connector and click Create.
- On the login screen that appears.
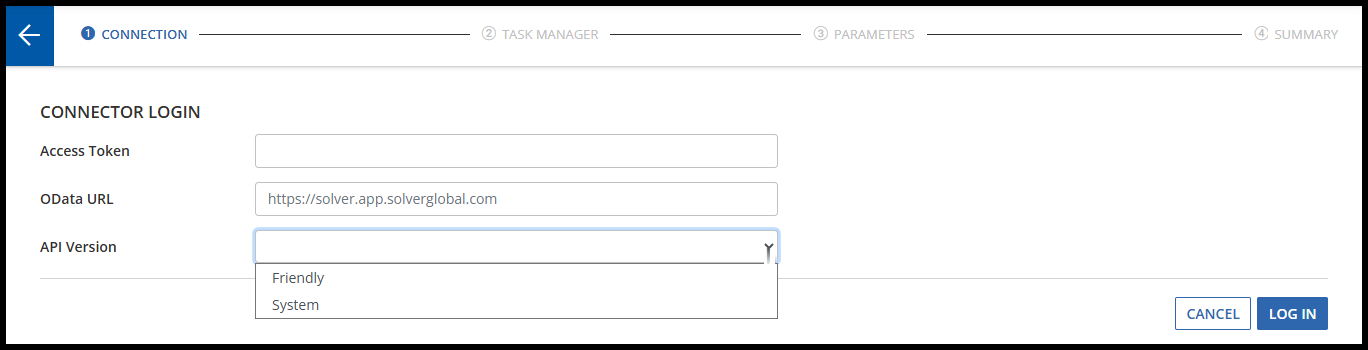
- Access Token: Provide the access token generated when enabling the Data API
- URL: This is the URL you are using to access Solver. Be sure to use only the Solver URL with no additions or changes.
- Example https://us.app.solverglobal.com
- API Version: For more information about which is right for you, view this section of the Data API article.
- Friendly Labels: This option will display the user-defined labels as you create an integration. While this option is easier for creating integrations, if a user changes the label name, the integration will have to be updated.
- If there are minimal changes to the labels in your implementation, we recommend using this option, as it will simplify creating the integration.
- System Labels: this option will display the underlying system name, ie, “UDF###” or “f_Trans_GL”. This requires you to know the system labels of every attribute that you would like to map. While mapping your fields is a bit more complex, changes to labels do not break your integrations and allow for more complex filtering.
- Friendly Labels: This option will display the user-defined labels as you create an integration. While this option is easier for creating integrations, if a user changes the label name, the integration will have to be updated.
- After entering the correct information above, click Login to proceed to the next page to set up an integration.
- The login process may take a couple of seconds to complete.
At this point, you have successfully connected the currently logged-in tenant to the tenant associated with the access token and can begin creating an integration.
Limitations
Currently, a known limitation when using this connector is that users are unable to sync their periods or LIDS data sent to the other tenant. This will need to be manually reconfigured once the job has been completed.
At this time, users’ ability to sync all currency data, including rates between tenants, is also restricted. However, the dimension data will still be available for transfer.