This article details how to upgrade your integrations from Web Access Key to Azure AD. With the D365 Business Central (BC) 2022 Wave 1 (W1) update, Microsoft is removing support for Web Access Key authentication for ODatav4 for Business Central Cloud customers only and requiring Azure AD (AAD) support.
Note:
- If you are hosting Business Central on your local servers, you are not impacted by this change.
- It is strongly recommended to migrate all your BC OData (version 1) integrations to Azure AD authentication
More Information:
Please check with your BC Admin to confirm your BC upgrade date. You must update your Solver integrations to Azure AD prior to this date or your integrations will stop working.
The below table can be used to identify if you need to update your integration:
| Solver Cloud | Solver Private Host | |
| Business Central Cloud | Must update to AAD before your BC 2022W1 update | N/A |
| Business Central Hosted | Do not need to update the authentication method | Do not need to update the authentication method |
This will impact all Solver integrations requiring you to update all integrations built off the Solver Business Central V1 Connector to Azure AD authentication. Unfortunately, this is a manual process for each integration as a valid BC user must sign into their account.
Steps
The below should be performed by a user who:
- Can edit integration permissions within Solver Cloud.
- Has permission to access Business Central.
Begin by logging into Solver Cloud. Then follow these steps:
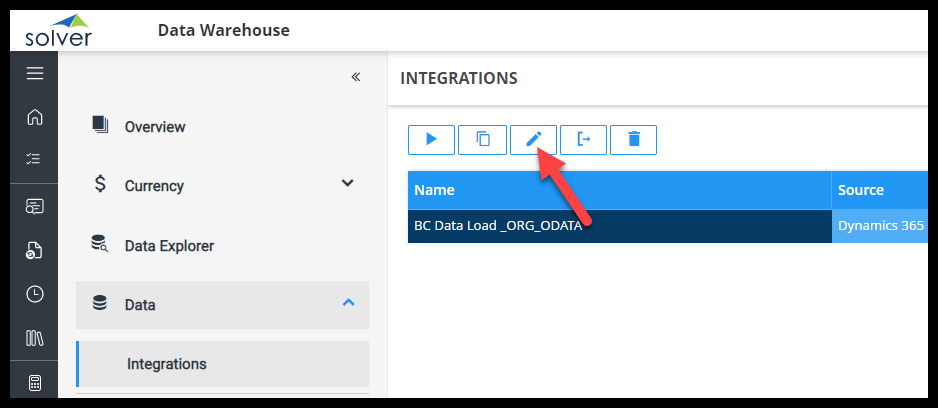
- Navigate to Data Warehouse > Data > Integrations.
- Find an integration that has not been updated to Azure AD and click the Edit icon.
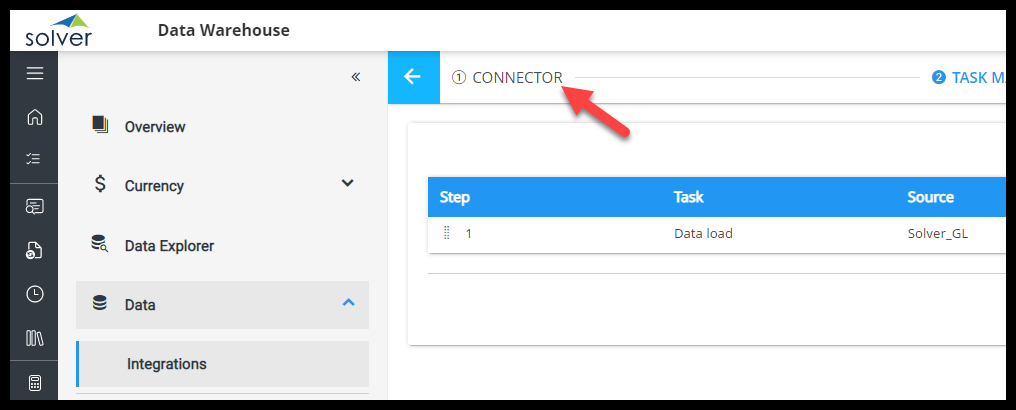
- Click on the Connector tab.
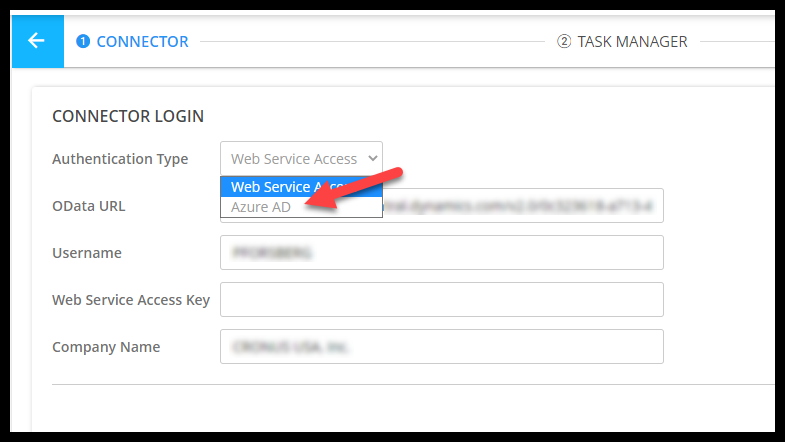
- You will see a dropdown for Authentication Type. Choose Azure Ad.
- The screen will provide an Authenticate option. Click Authenticate.
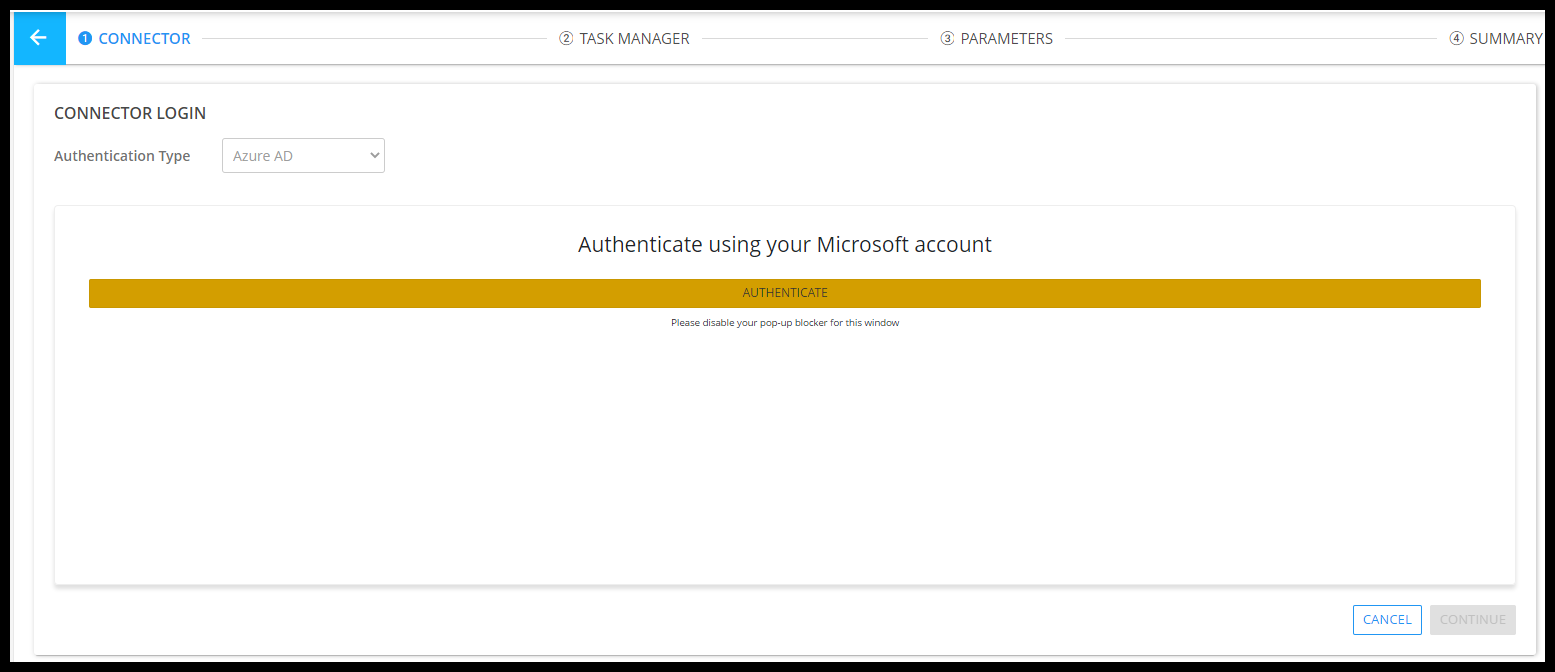
- In the popup that appears, type in your login information.
- Click Continue.
- You have now updated the integration. No other changes are required. Click on the Integrations menu if no other changes are required to your integration and run your integration to make sure it works.
Repeat these steps for each BC integration you have configured.