Solver includes advanced currency translation to convert foreign transactions into a “base” currency. Below are steps to accomplish this.
- From DW >> Configuration >> Dimensions; make sure you see the Currency dimension.
- If you do not see the currency dimension, then the client has not purchased currency and the below cannot be done until they have purchased.
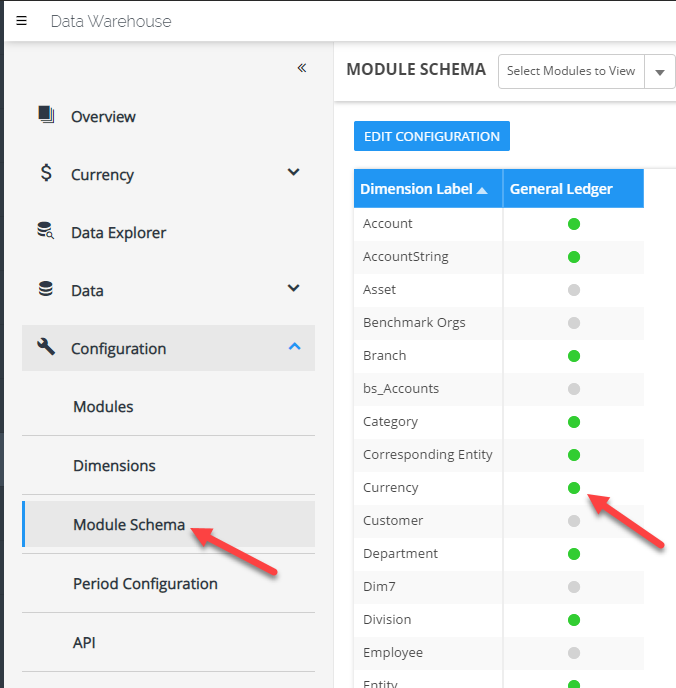
- On the module schema tab, add/assign currency and category to the General ledger if they are not already.
- Load in your Chart of Accounts and assign an account type to each account that should be translated. Default account types that exist in Solver are BSC (balance sheet account) , PLC (P&L account) and STAT (statistical).

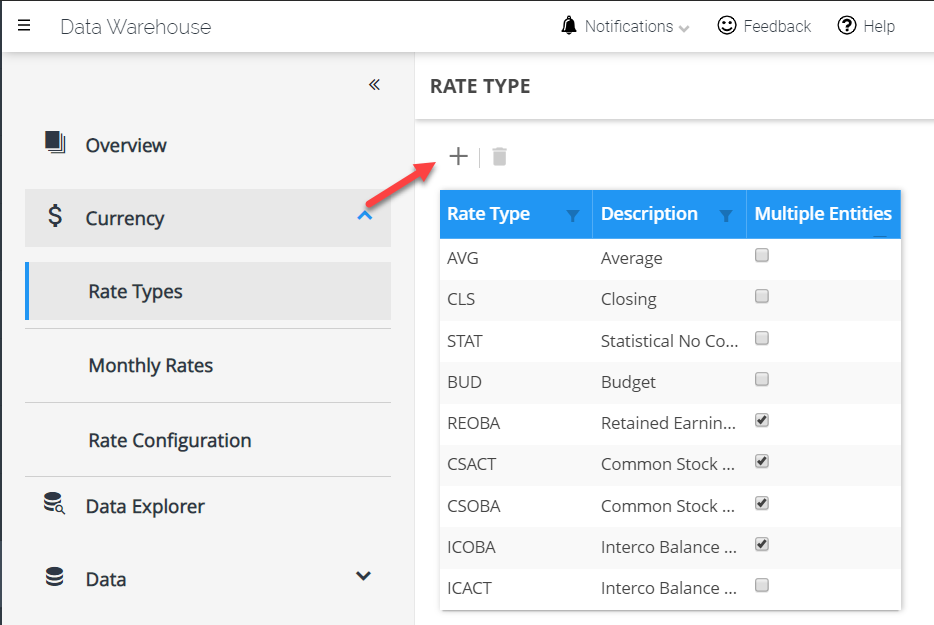
- If you need additional rate types, they can be created under Currency >> Rate Configuration.
- Next load in your Entities to the entity dimension
- Load in your currency codes
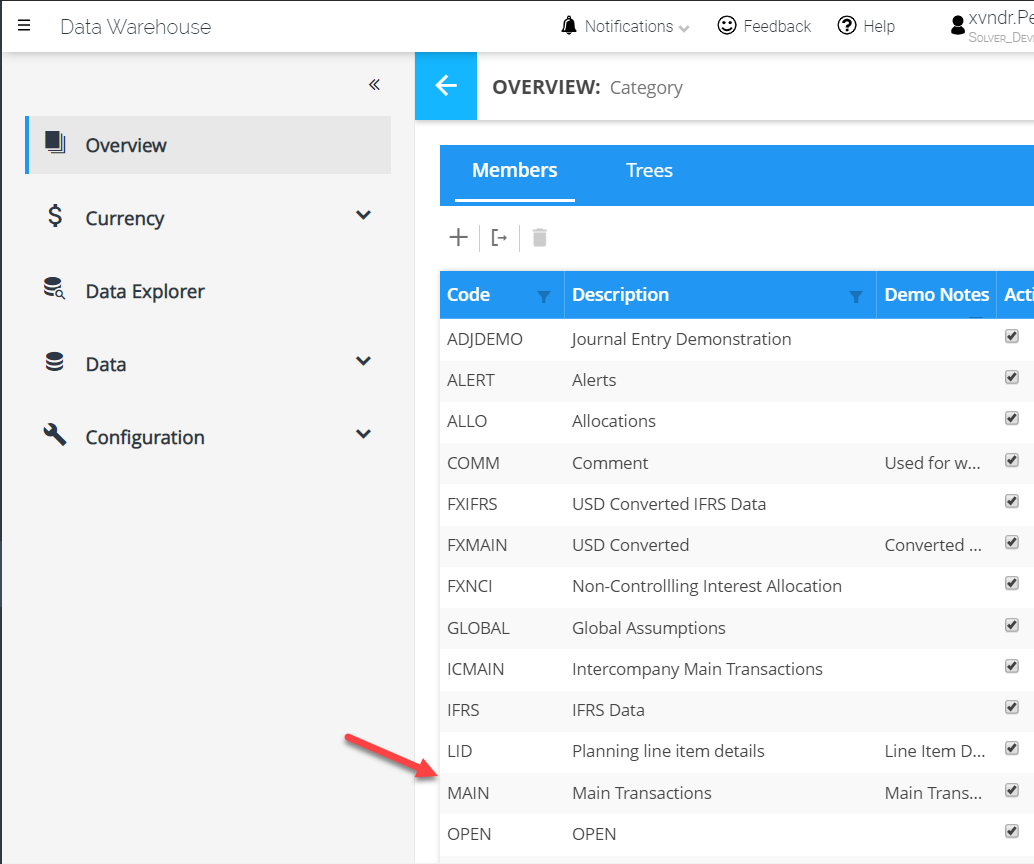
- Make sure your Category dimension has the Code “Main”.
- Navigate to the Currency tab
- Add rate types as needed, Average, Closing and Historical exist by default
- Click on monthly rates, choose the rate type drop down
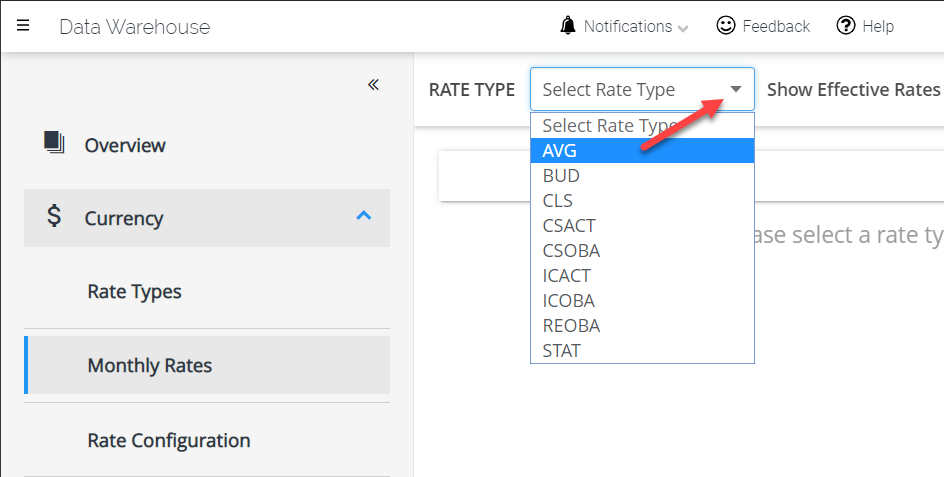
- Add your monthly rates
- Set your base rate to a value = 1. Your base rate is what you will be translating all transactions to (for example, convert everything to USD, then set the monthly rate for the USD = 1)
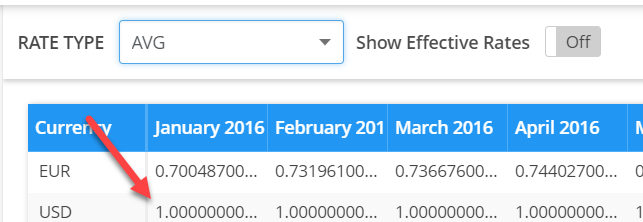
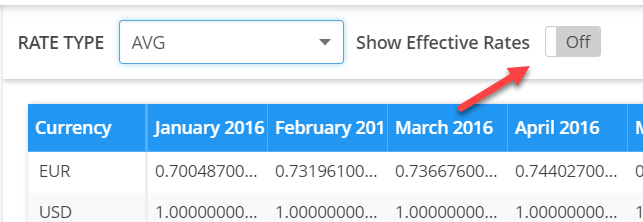
- You do not need to set the base rate for every month. Just set it for the first month and it will automatically get propagated out to all months. You can see this by clicking “Show effective rates”.
- Set your base rate to a value = 1. Your base rate is what you will be translating all transactions to (for example, convert everything to USD, then set the monthly rate for the USD = 1)
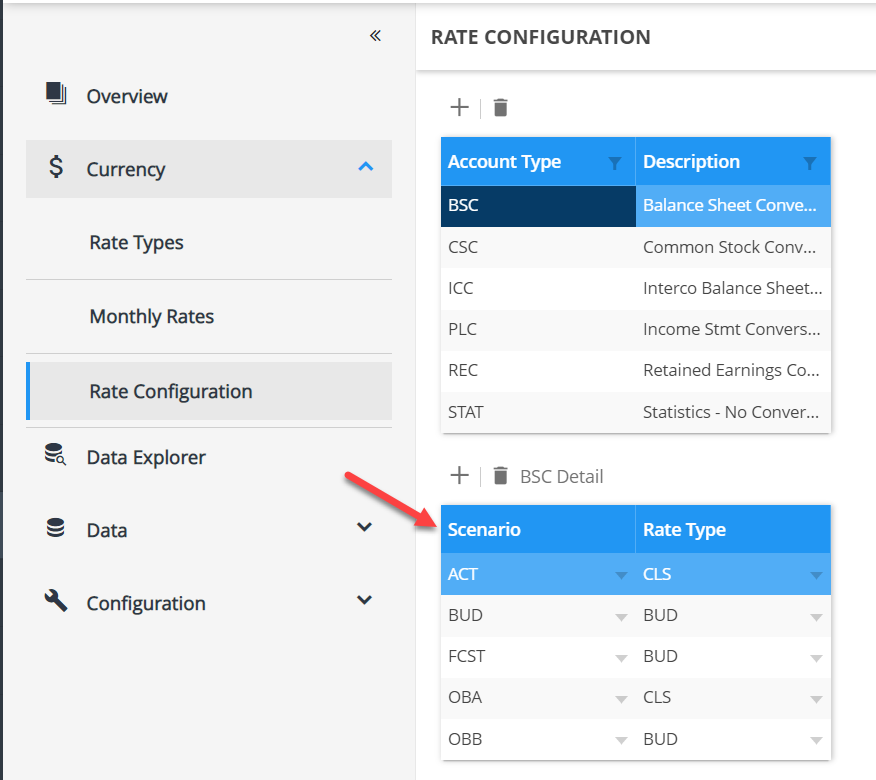
- Under Rate Configuration, you define for each account type, what rate type to use for what scenario. Click on an account type and fill out its details in the bottom half
- Add rate types as needed, Average, Closing and Historical exist by default
- Load in your GL transactional information making sure that
- Entity is set to the local entity
- Currency is set to the local currency
- category is set to main
- all other dimensional mapping information should be as you have always done
- Navigate to Data >> Rules and import the currency translation rule from the support site found here.
- Run the rule as needed, filling out the parameters as you need to run it for.
Advanced Configuration
Now that the currency is running, you may want to automate the process. This can be done by adding the Currency Rule as another step in a Job.
- Navigate to the Data > Jobs menu.
- Find your integration that is loading in GL (and GL Detail, if applicable) data.
- Add a step, adding the Currency Translation rule to kick off after the GL data load steps.
- Provide the desired parameters.
- Click Update to save the changes.
Now, with every data load, the currency translation process will take place ensuring that what you and end users see is translated data.