Solver’s Integration Customization tool allows Solver users to extend the Solver provided integration packages to customizations that your organization has done in their ERP system. Solver’ integration packages have been coded to work with default ERP fields, but in cases where your organization has customized the ERP system, the Integration Customization tool will allow you to connect to these customizations.
Terminology
The Integration Customization Tool creates an “extension”. An Extension is a .xml file that is then uploaded to the Solver Application.
Technical Note:
- Integrations are a technical feature that, when configured incorrectly, can cause features in Solver to not work or return invalid data. It is recommended to
- Consult with your Partner or Solver when customizing the integration.
- Purchase a sandbox tenant to test integration customizations before deploying this integration package.
- If your organization has not purchased a Sandbox environment, you can also install an integration extension during non-critical reporting periods.
- Integration package create an XML file that can be tracked using .git. Contact your IT to discuss ways to implement a source control solution to ensure tracking of changes made to the integration.
- Solver does not maintain backups of your integration files.
- Integration Customization is not supported on the Data Warehouse.
- This feature is compatible with Solver Cloud (in conjunction with use of the Hybrid agent) and Private Host customers who have version 5.2.30319+ installed.
System Requirements and Licensing
System Requirements
In order to install the Solver Integration Customization tool, the following is required.
| Feature | Requirement |
| Operating System | Windows Server 2016+ OR Windows 10+64 bit recommended |
| Ram | Min 8gb |
| Processor | Intel or AMD; 32bit or 64 bit.64 bit recommended |
| Other Software | .net Framework 4.7+Microsoft SQL Express LocalDb (installed by installer if not installed)Reboot may be required |
| Internet Access | Access to the IP address: 13.69.228.4this address is not pingable |
Licensing
There is no license key needed for integration customization. Users are able to install and immediately use the Solver Integration Customization tool.
IMPORTANT: Integration Customization tool is considered an administrative tool and inherits database access based off the credentials defined in the connection string.
Installation
Before starting this installation, below are key architecture notes of this install:
- Integration Customization Tool is installed as a user (HKEY CURRENT USER) software, meaning that it is available to only the logged in user who has installed the software. Additionally, it can only be uninstalled by the user that has installed the software.
- Use a service account to install the software.
- Document that server AND the username that the Installation Customization Tool was performed by.
- The Customization Tool is a separate program within Solver application and should not be generally installed.
- It can be used for both Private Host and Cloud customers who are using the hybrid agent. It cannot be used for any Data Warehouse customization.
- It can be installed on a system that does not have Solver Reporting Installed. It is also recommended not to install this with a Terminal Server environment.
- This install will add SQL Server 2017 Local Db software and require a Reboot of the system.
To install the Solver Integration Customization tool:
The download can be found within the Solver Private Host zip file that was download or within the Help menu within Solver Cloud.
- Make sure you are log in as the user that is going to use the Customization Tool.
- Copy the executable to the desktop of the computer that the Customization Tool will be installed on.
- Right-click on the executable and choose Run as administrator. Please follow any User Account Controls (UAC) popups that appear on the screen. The installer will open.
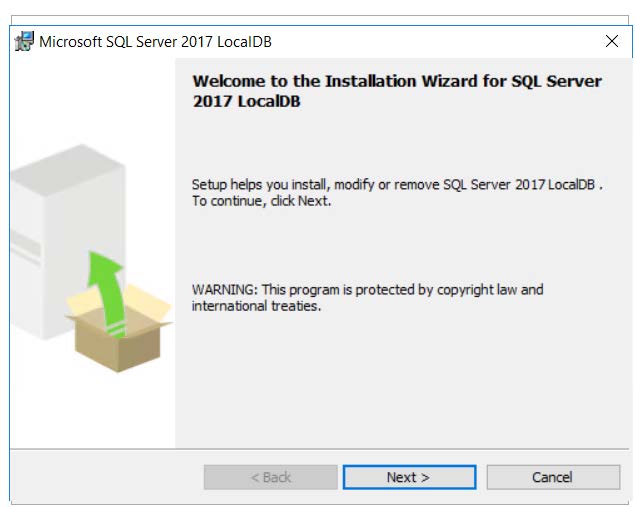
- Next the program will install a Microsoft SQL Server 2017 LocalDB. This is needed to create a small SQL database to store relevant application information.
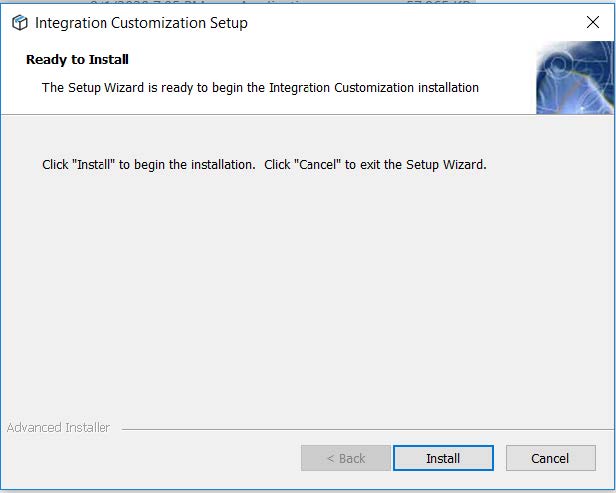
- Click Next to install. The EULA will appear.

- Accept the Terms and click next. Click on Finish to complete the install.
- The system will ask for a reboot to complete the installation.
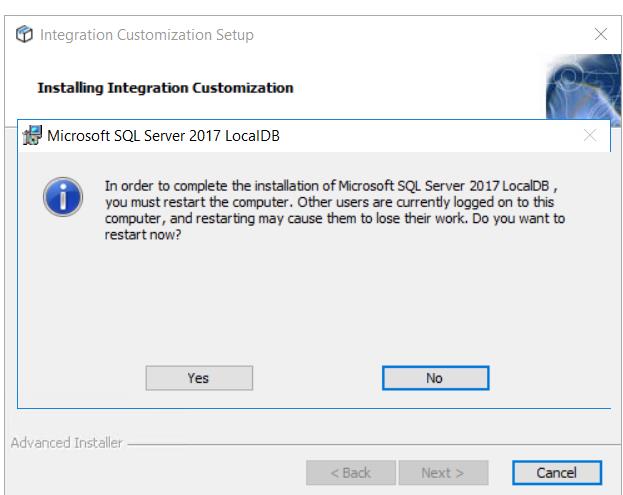
- Upon reboot, installation of the Integration Customization tool is complete.
Configuration
Once the installation is done you have to setup the packages for which ERP that you have.
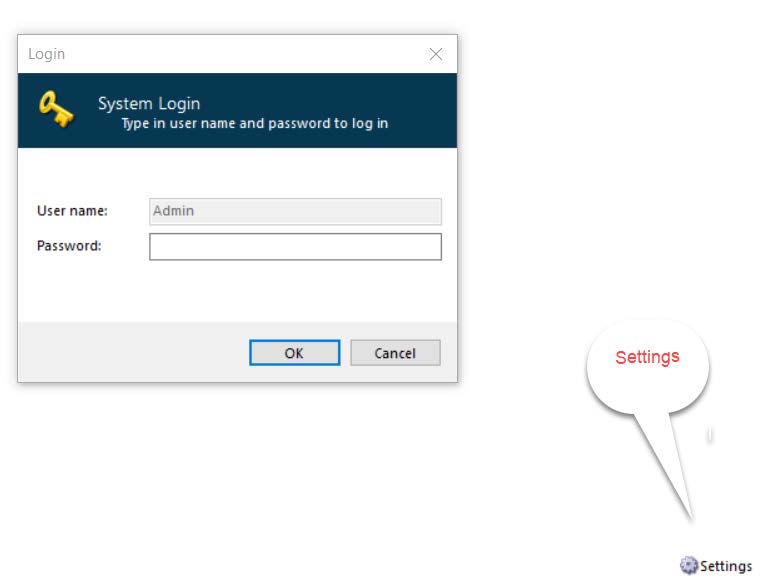
- Open Integration Customization (Start > Integration Customization)
- This will bring up the Log on screen. Type in the password “admin”, all lower case and with no quotes. Note you can change the password in the Settings.
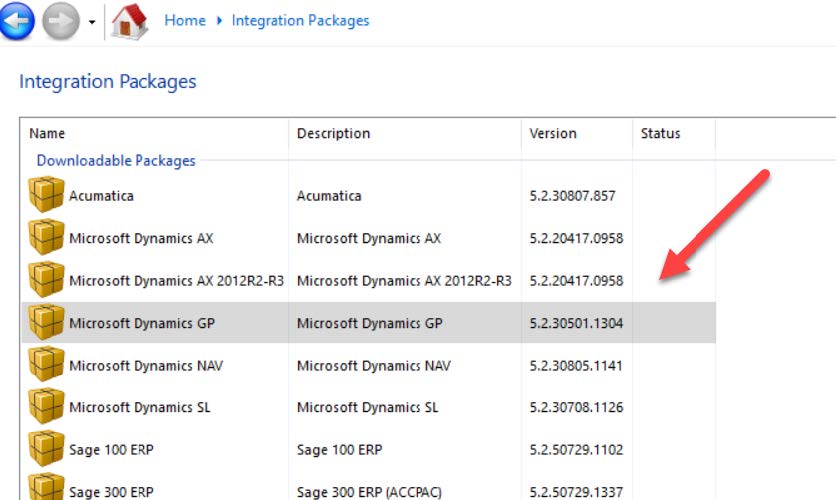
- On the main menu, click on Integration Packages.
- Select the integration package that corresponds to your ERP and click Install Selected at the bottom of the screen.
- The integration package will now appear in the Installed Packages list.
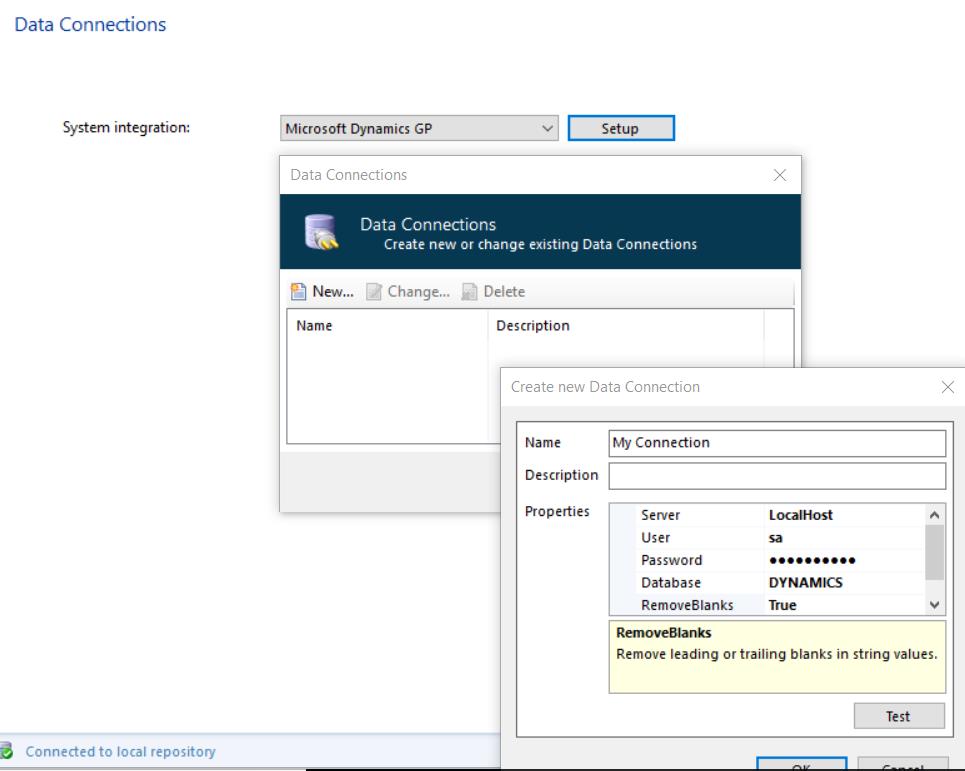
- Click Home > Data Connections
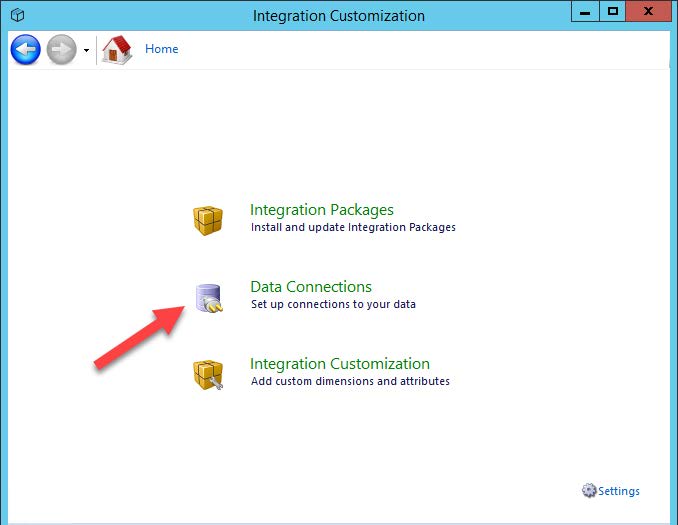
- Users will see the Package that was installed. Select New and enter the requested information.
- Server: type in the name of the SQL server where the ERP database(s) are located. This can be either the hostname or the IP address.
- If the ERP database is located on an instance of SQL, append \instanceName to the end of the serverIf the SQL server is using a non-standard port, append :portNumber after the server name. Take note of the colon that is needed.
- GP: type in the name of the Dynamics databaseSL: type in the name of the SLSystem databaseSap Business One: type in the name of the SBO-Common databaseAll other ERPs: type in the name of company database.
- Server: type in the name of the SQL server where the ERP database(s) are located. This can be either the hostname or the IP address.
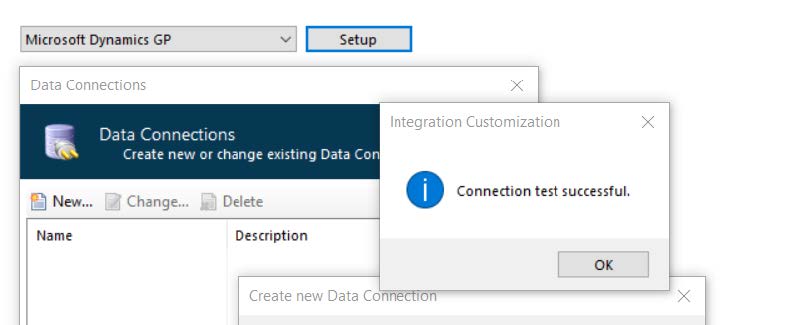
- Test the connection to see if it works. Click Ok and your connection is ready.
At this point you have now successful configured the Integration Customization tool. Navigating back to home, click on Integration Customization to begin extending the Solver Integration to support your customizations as well. 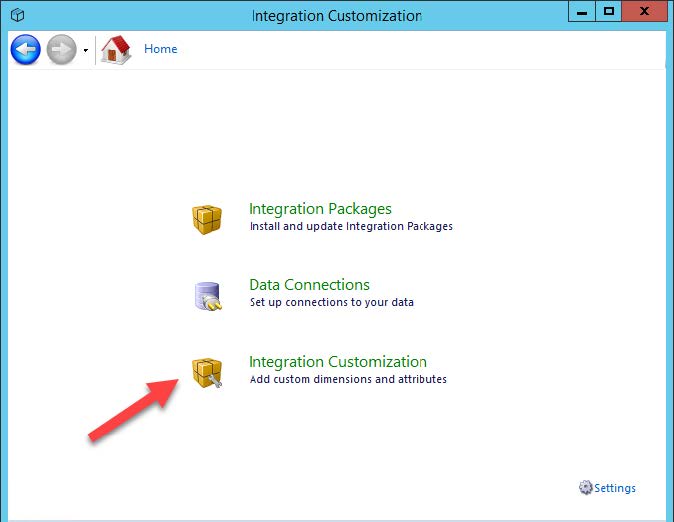
Creating your First Integration Customization
This section will give a high-level overview of the actions available in the Integration Customization menu. Upon clicking Integration Customization, the integration package will load. Depending on the amount of data and the number of extensions that have been configured on the ERP database, it may take 5-10 seconds to load.
- System Integration: Displays the ERP integration that has been loaded.
- Data Connection: Displays the name of the Data Connection that was configured by the user, as detailed in the Configuration section above.
- Company: displays a list of companies that exist on the database as defined in the connection string as detailed in the Configuration section above.
- Add/Edit Module: Use this menu to edit existing modules and add new modules as desired. A module is a menu item that appears on the left-hand side of the Report Designer pane in Excel. Modules group factsets together. The simplest example here is one might create a “General Ledger” module that includes both General Ledger Summary and General Ledger Detail factsets.
- Add/Edit Dimensions: Use this menu to edit existing dimensions or add new dimensions relevant to the data in your system. A dimension is used to describe the data.
- Add/Edit factset: use this menu to edit existing factsets or add new factsets. A factset is a set of transactional or operational data stored in the ERP
- Add/Edit Enumeration Dimensions: use this menu to edit existing dynamically generated dimension or configure your own enumerated dimension. An enumerated dimension is a dimension that does not have a physical table on the database.
- Save Integration Customization: use this menu to save and export the customization to the desktop for import into the Solver Product.
In the following section, we will make a customization to
Uploading the Customization File
Only tenant administrators can upload a customization file, referred to as an Extension. Customizations are tenant specific and must be applied to each tenant. To upload a customization:
- Log into your Solver application
- Click on Settings > Administration
- On the Overview tab, a list of installed Integrations and Extensions will appear.
- Click Add to import the extension file.
- In the popup that appears, find the extension file (.xml) and upload it to Cloud.
- For Cloud customers, please note that it may take up to 1hr for the change to take effect
- Private Host users can wait 1hr for the change to take place or can restart the report rendering service to apply the change quicker.