Introduction
Solver utilizes the terminology customer and tenants to grant users access to their data.
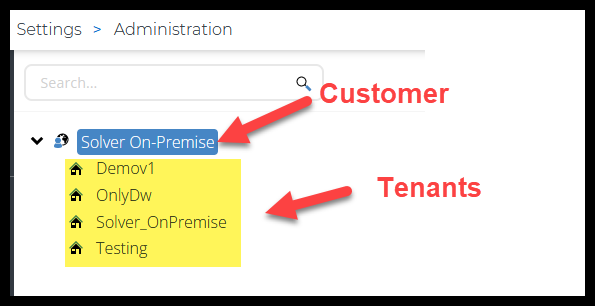
Customer
A “Customer” represents the top level of what has been provided to you as part of your purchase. The customer name is provided by your organization at the time of purchase. The name provided is a record in the Solver license system and cannot be modified by end users.
Customer Admins
Every organization has one Customer administrator. This user is defined at the time of purchase and the first user invite is sent to this user. Additional Customer administrators can be added and it is strongly recommended to have at least two (2) customer admins. It is important to note that a Customer level Administrator does not have access to log into the tenant and does not require a license. However, in order to access the tenant specific data, the customer administrator will need to be added as a tenant user and allocated a license and granted permissions to access the tenant data.
- You must have at least one (1) customer admin.
A customer admin has the following permissions:
- Add/Remove users from tenants
- Add/Remove users as customer admins
- Add/Remove data access, licensing and application permissions
- Reset Users MFA
- Export user access reports
- Search user capabilities
A customer admin can be a Solver user or a user who is responsible for actions strictly related to application administration.
- Please ensure that this user should be able to see any data that could be loaded into Solver.
Editing your Customer Name
Customer names are maintained by Solver. If you need to modify the name shown, for example if your organization’s name has change, , please contact your Sales representative or Solver Support to request the update.
Deleting your Customer
Users, even customer admins, cannot delete their “customer” via the application. Per Solver’s terms of service, Customers are removed from Solver 30 days after their final renewal date.
Tenants
A “tenant” contains a specific set of data. A tenant, as an example, can be
- Production tenant
- Sandbox tenant
- Company “C”
Data in one tenant can be different from data in another or you can request that data be copied from one tenant to another via a support ticket.
Tenant Administrators
Tenant Administrators are users who are added to that specific tenant and are provided with “System permissions”. The available persmisions are:
- Can manage users, licenses and data access: This option gives the user full access to manage the tenant users, allocate licenses, and configure data access permissions.
- Can manage connections: This option is to manage hybrid reporting.
Creating a New Tenant
When you first log in to Solver, your initial tenant is automatically provisioned. However, if additional tenants are purchased, any individual within your organization designated as a Customer Administrator can add new tenants.
Follow these steps to add a new tenant:
- Log in as an Administrator:
- Access Solver Cloud using your administrator credentials.
- Navigate to Settings > Administration:
- Note that only Customer Administrators will see this option in the menu.
- Check the License:
- Before proceeding, verify that there is an available tenant slot for creation.
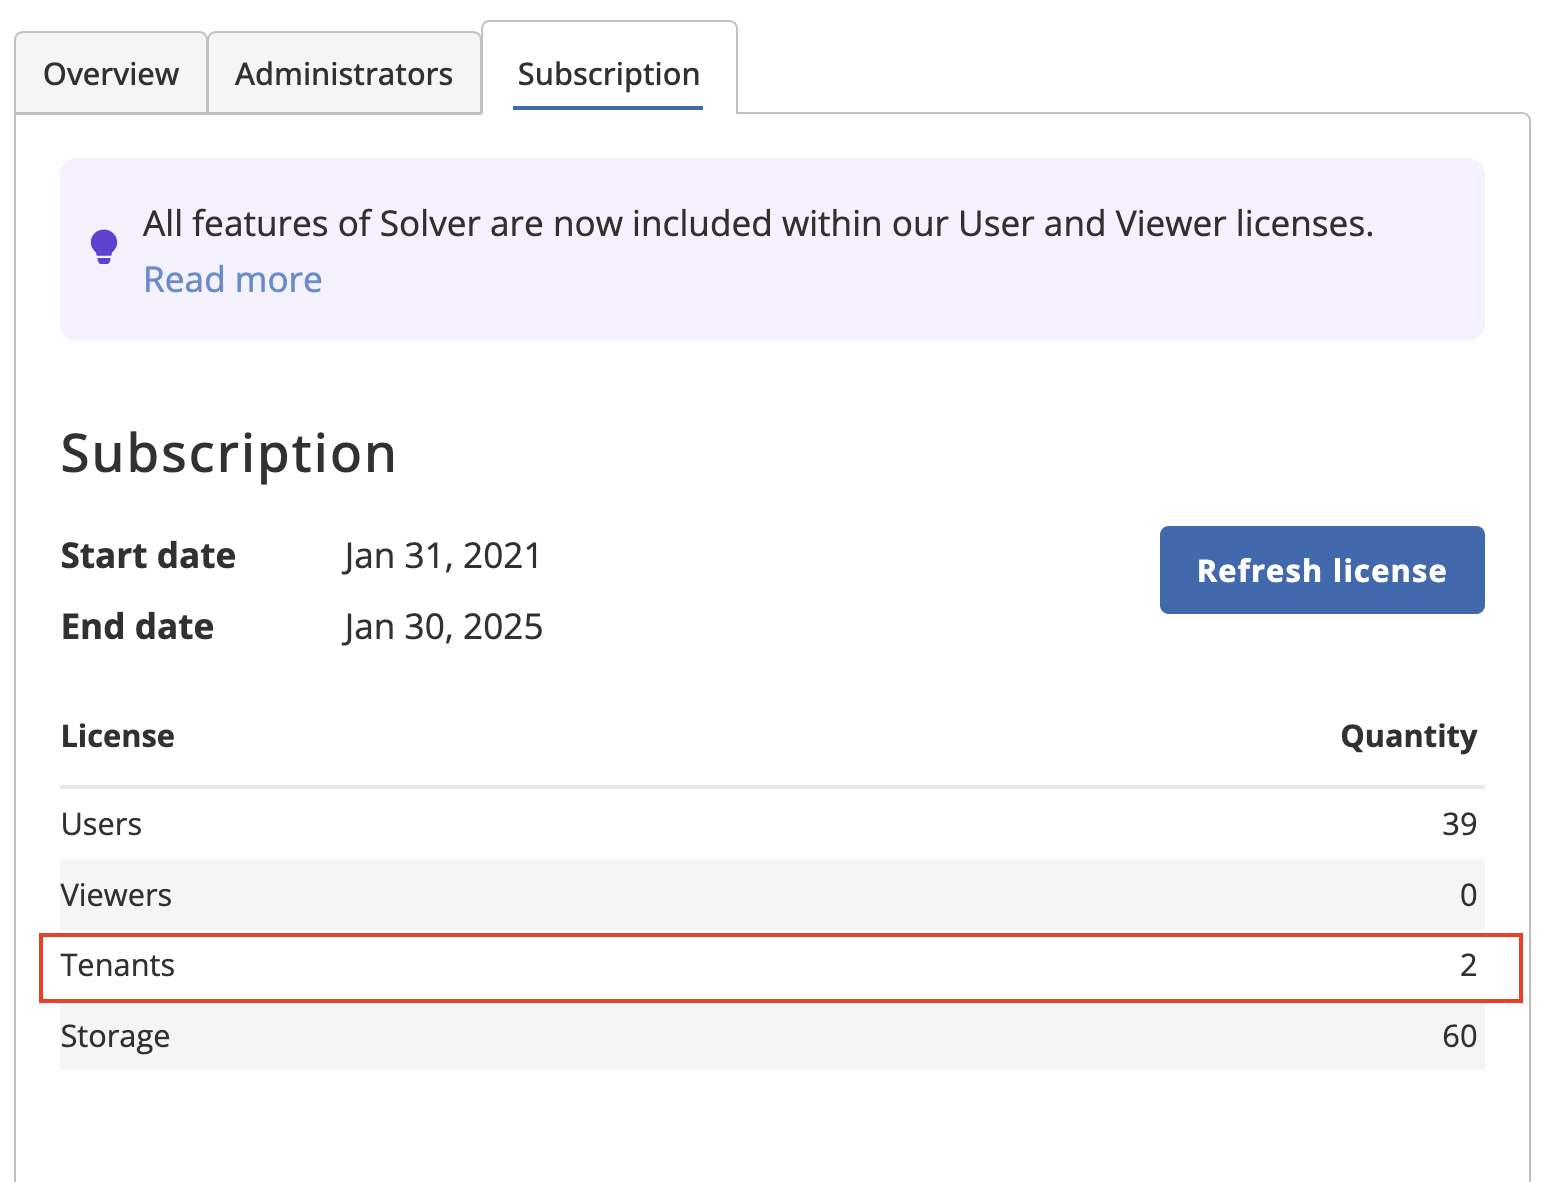
- Before proceeding, verify that there is an available tenant slot for creation.
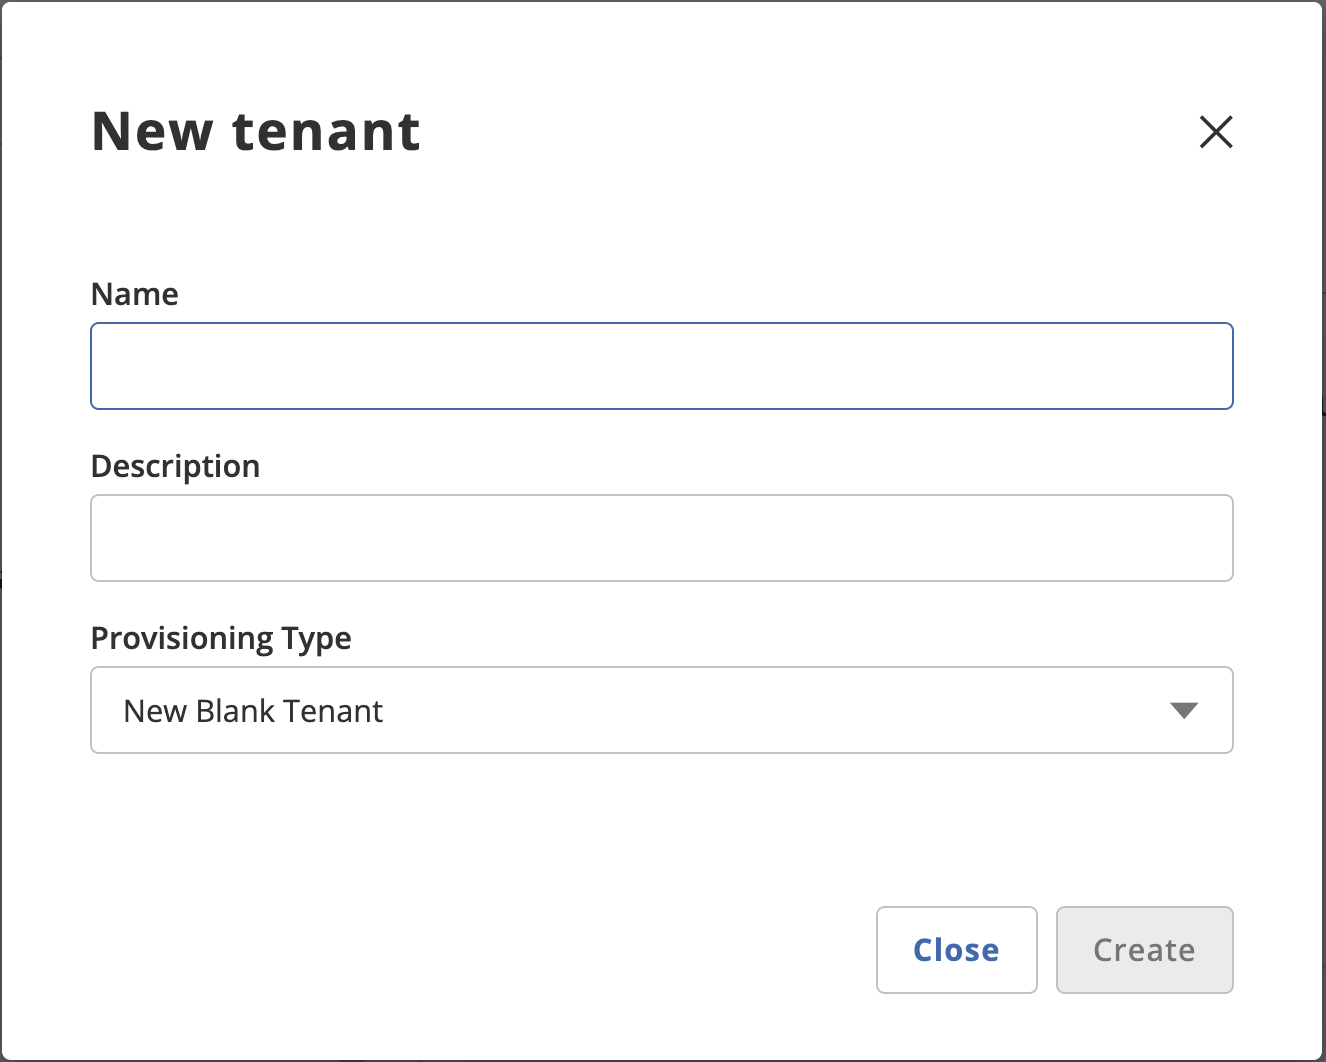
- Create a New Tenant:
- Click on “New Tenant” to open the New Tenant dialog window.

- Provide a Name for your new tenant (e.g., “Sandbox”). The description is optional.
- The provisioning type will default to “New Blank”.
- Click on “New Tenant” to open the New Tenant dialog window.
That’s it! You’ve successfully added a new tenant to your Solver environment.
Editing Tenant Names
Tenant names within Solver can be modified by Customer Administrators or tenant users with the permission to “Manage Users, Licenses, and Data Access.” If you need to change the displayed tenant name, follow these straightforward steps:
- Log in as an Administrator:
- Access Solver Cloud using your administrator credentials.
- Navigate to Settings > Administration:
- This option is available only to Customer Administrators.
- Select the Tenant to Edit:
- Choose the specific tenant whose name you would like to change.
- Edit the Name:
- Click the Pencil icon next to the current tenant name.
- Enter the desired new name for the tenant.
- Save Changes and Refresh:
- After successfully changing the name, refresh the web page.
- The updated tenant name should now appear in the upper right-hand corner.
Deleting a Tenant
Deleting a tenant can only be done by Customer Administrators. If you need to remove a tenant from your Solver environment, follow these steps:
- Log in as an Administrator:
- Access Solver Cloud using your administrator credentials.
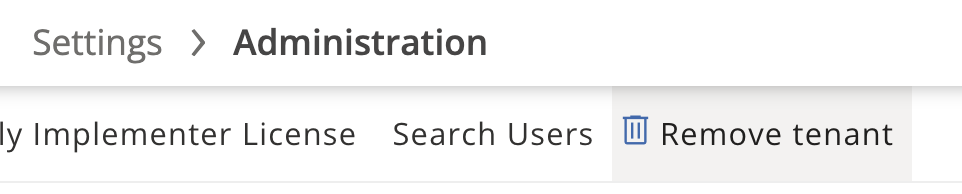
- Navigate to Settings > Administration:
- Locate the “Remove tenant” option within the Administration screen.
- Select the Tenant to Delete:
- Click on the specific tenant you wish to remove.
- Note that you may need to expand your tenants under your customer name if you have multiple.
- Remove the Tenant:
- Click “Remove tenant” from the top menu.
- A confirmation text box will appear.
- Confirm the Tenant Name:
- Enter the tenant name into the confirmation text box to finalize the deletion process.
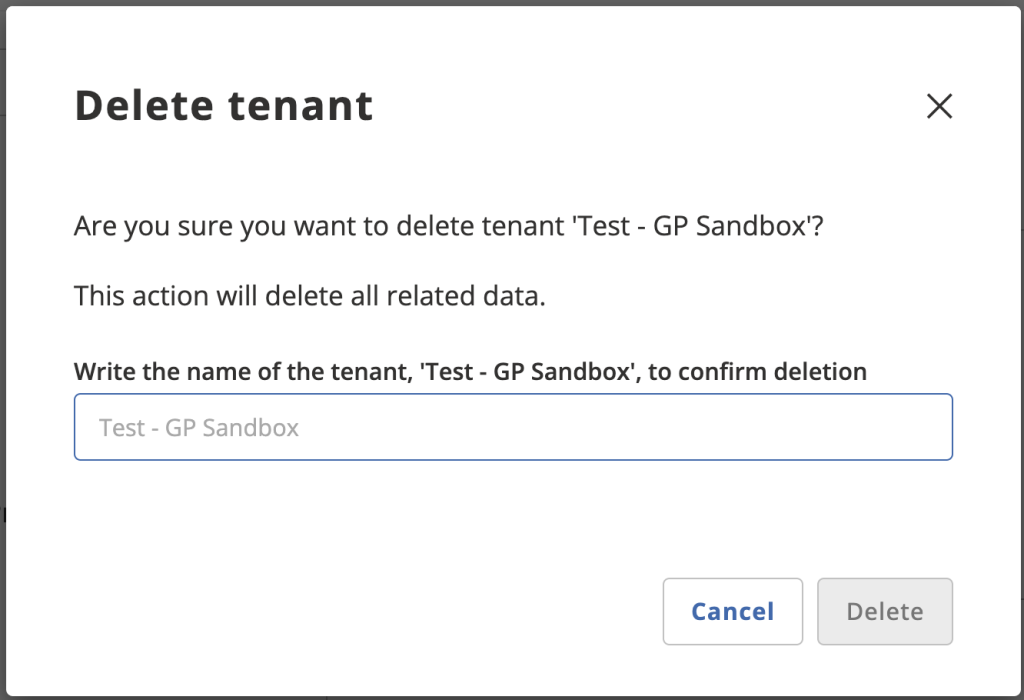
Warning: This action will permanently delete all contents of your tenant. It cannot be recovered.